Growing ‘Harison’s Yellow’
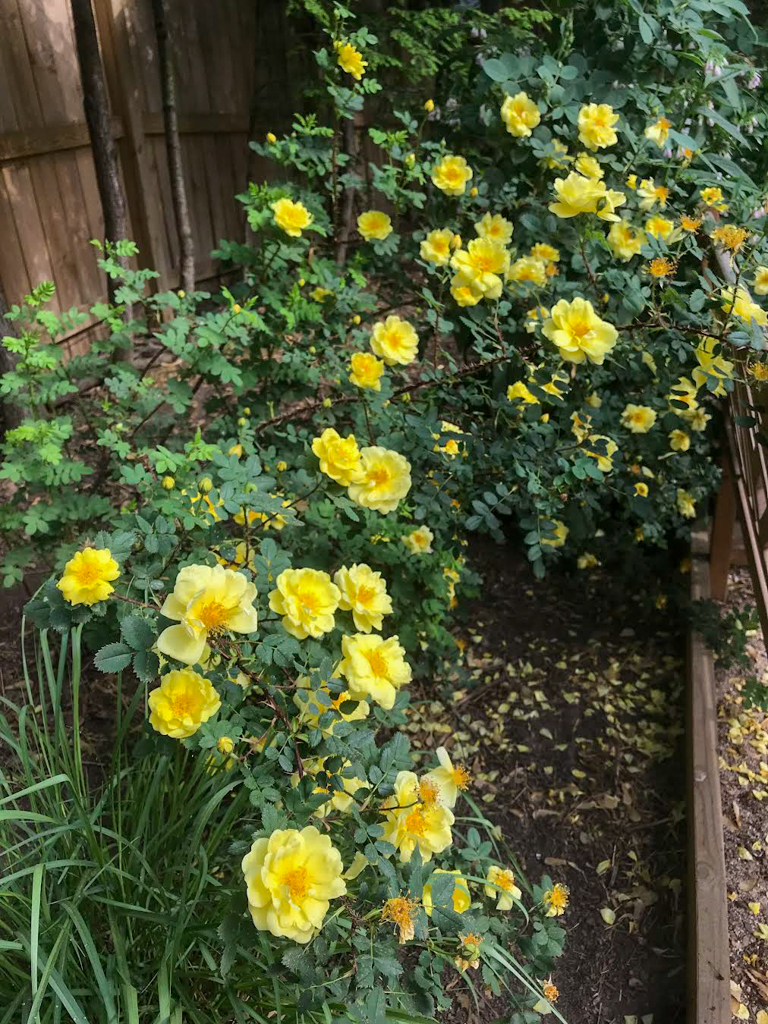
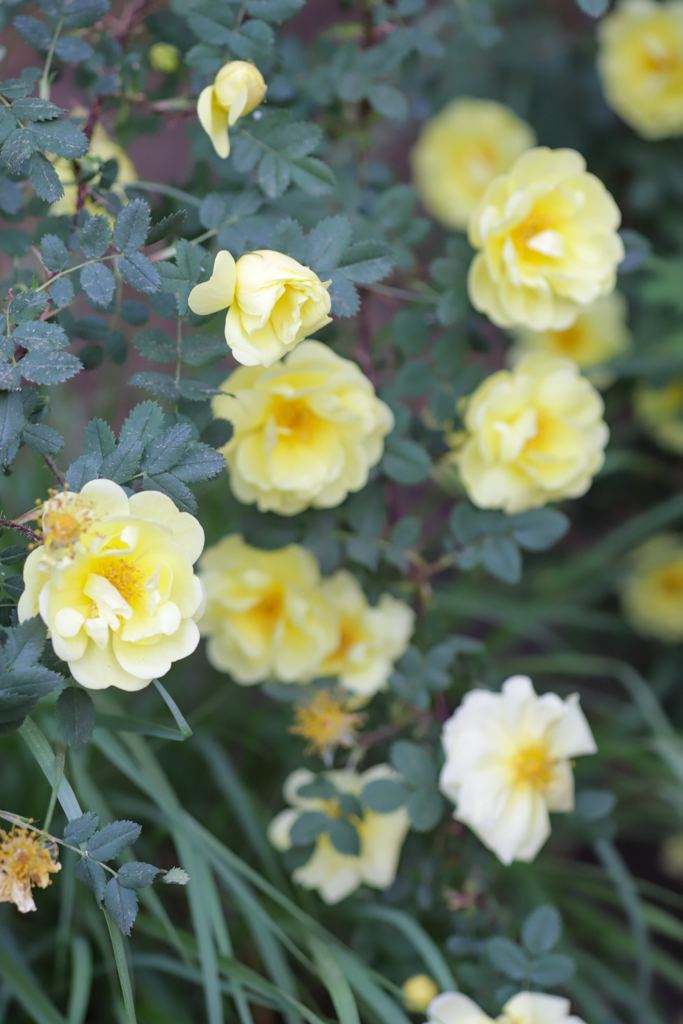
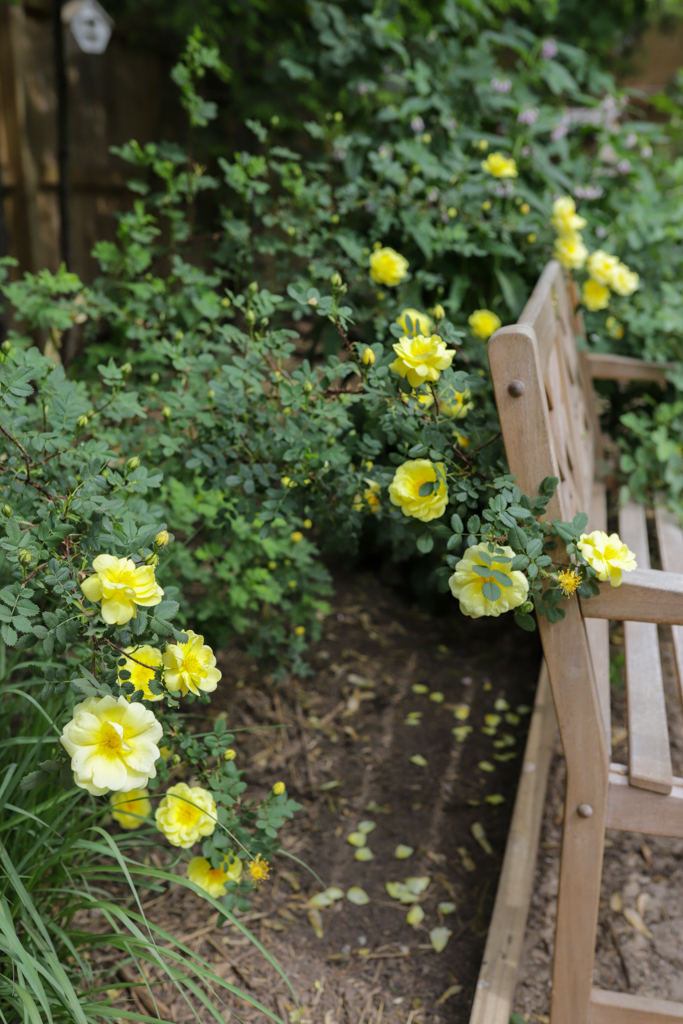
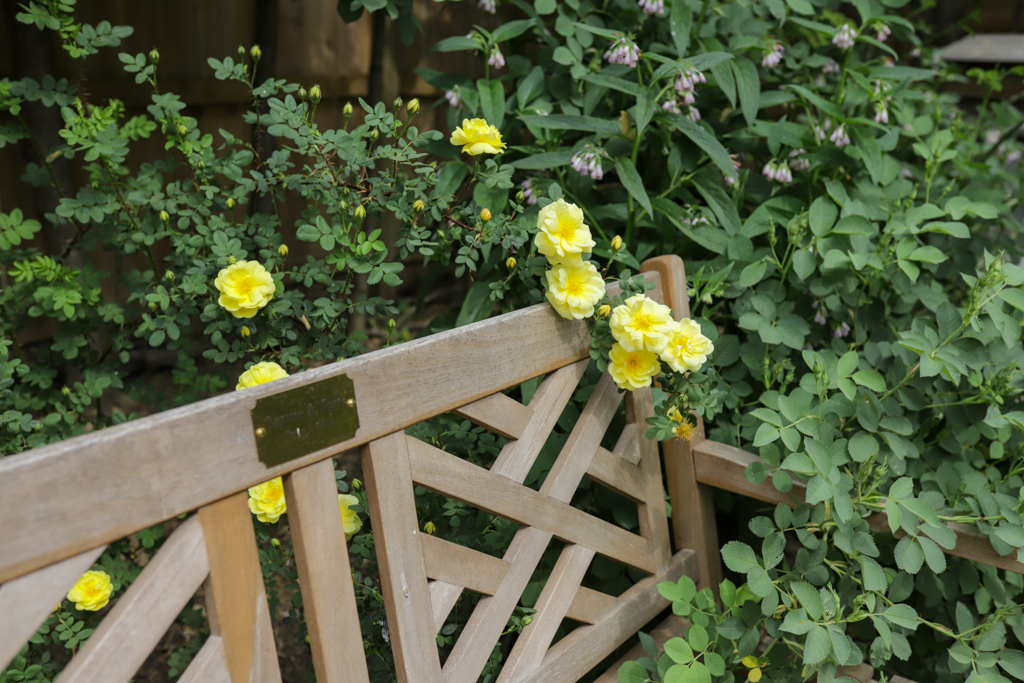
Harison’s Yellow, often referred to as The Yellow Rose of Texas, actually originated in New York but made its way across the United States in the first half of the 19th century; due to its robust nature and beautiful flowers it is still widely cultivated. From A Quest for the Rose (1993) “This rose is said to have been carried westwards across America with the pioneers and planted wherever they stopped. Raised by George Folliott Harison, or possibly his father Richard; both were New York lawyers and keen gardeners in the early 19th century.” You may often find that yellow roses are prone to blackspot but I don’t find that to be true with this rose, as a matter of fact it was quite healthy and winter hardy. Also, owing to its Scotch rose heritage was one of the first roses to flower and did so for weeks which the bees certainly enjoyed! Here are some more photos of our Harison’s Yellow in our former garden. I plan on growing another at our new home even though we get a lot of shade here since this rose is also happy with just a few hours of morning sun.
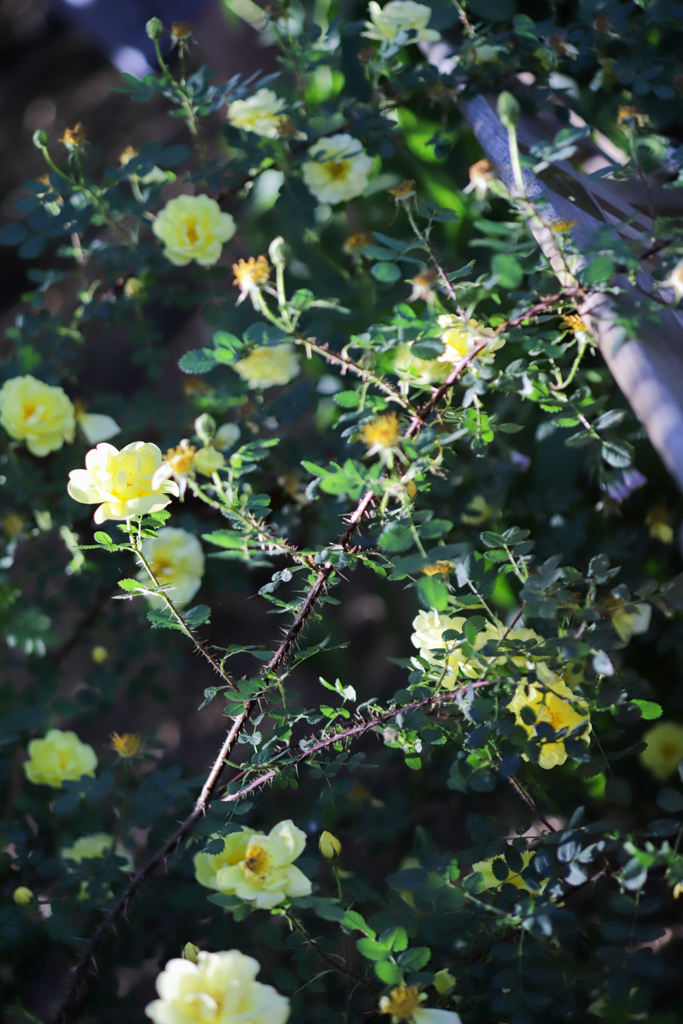
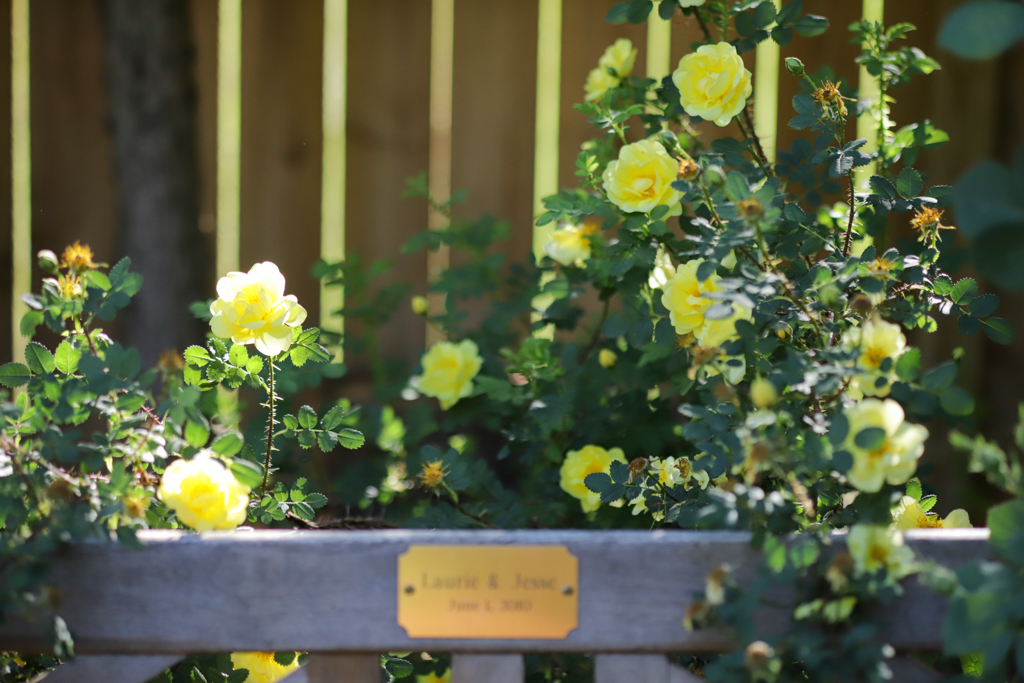

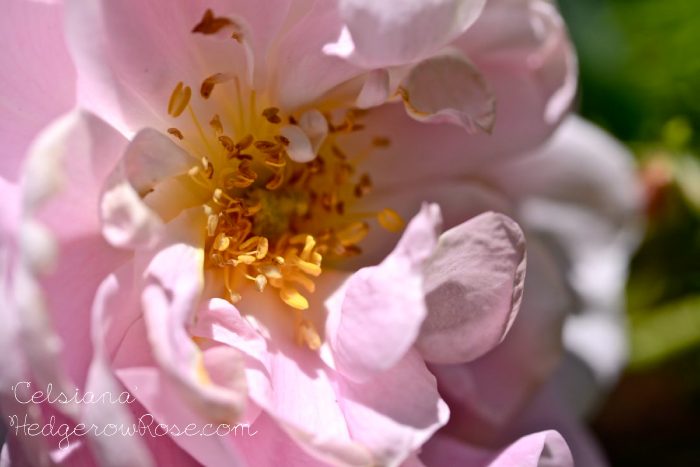

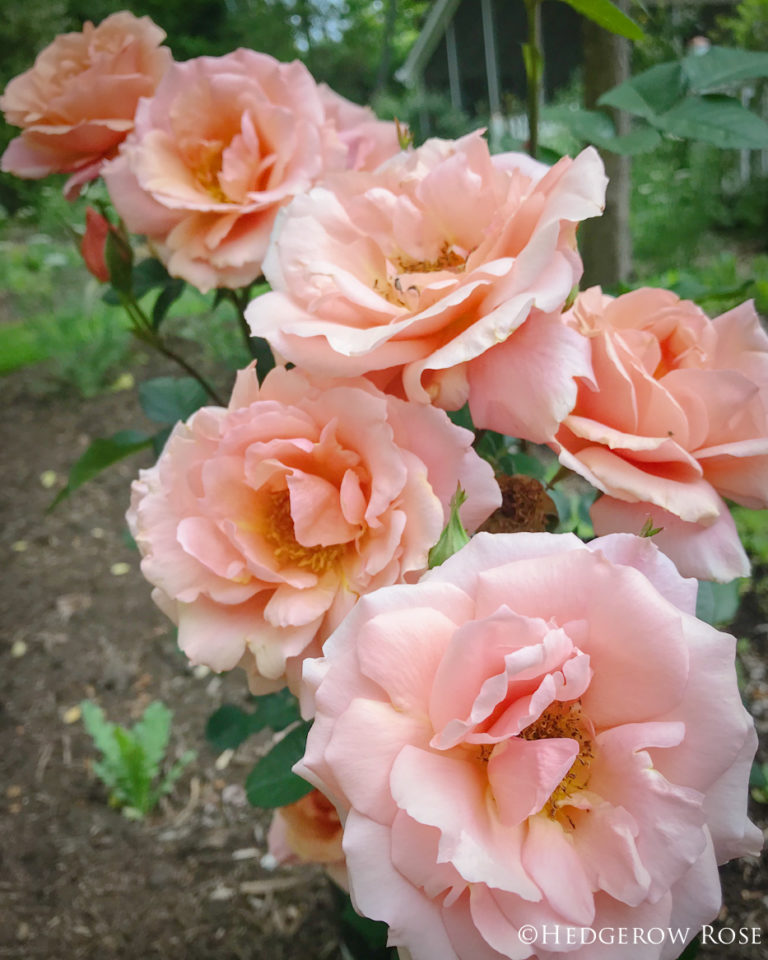
Wonderful! I’m going to paint it in a journal I’m creating on yellow and pink roses.
How lovely!
I could use advice on propagating the Harrison’s Yellow Rose. I have tried cuttings with rooting hormone with zero success, and digging shoots. What is the secret to propagating this beautiful rose that my mother brought to me from the family farm? Unfortunately, she is not here to tell me how she had such a green thumb with these roses.
Hi Jeanne, I share your frustration with propagating certain roses. Sometimes they really put up a fight. There are lots of other methods (and this may be a great opportunity to post your question in the GardenWeb rose forum ) but I wonder if you might like to give the “pegging” or “layering” method a try with Harison’s Yellow. What this entails is taking a longer section/cane and bringing it gently to the ground so that a part of the rose makes contact with the soil. You’ll need to dig a shallow hole for the pegged portion of the cane to rest in. Then you “peg” or “pin” that section of cane into the hole with a landscape staple (found at any home improvement store where they sell landscape fabric.) Cover that section back up with soil and then you wait–this is a process that can take as much as a year. The hope is that the cane will throw down roots under the soil and that part can eventually be snipped away from the mother plant and potted up. I feel like I’m not doing a great job explaining this method but if you visit this link, this blogger describes it more thoroughly. I hope this helps!