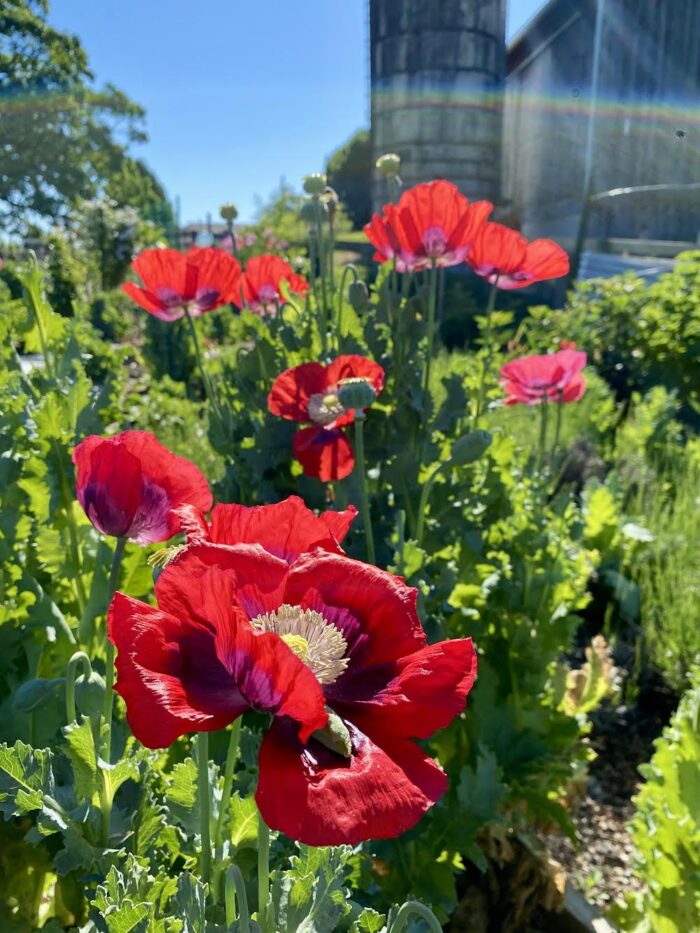
Tips For Growing Beautiful Poppies
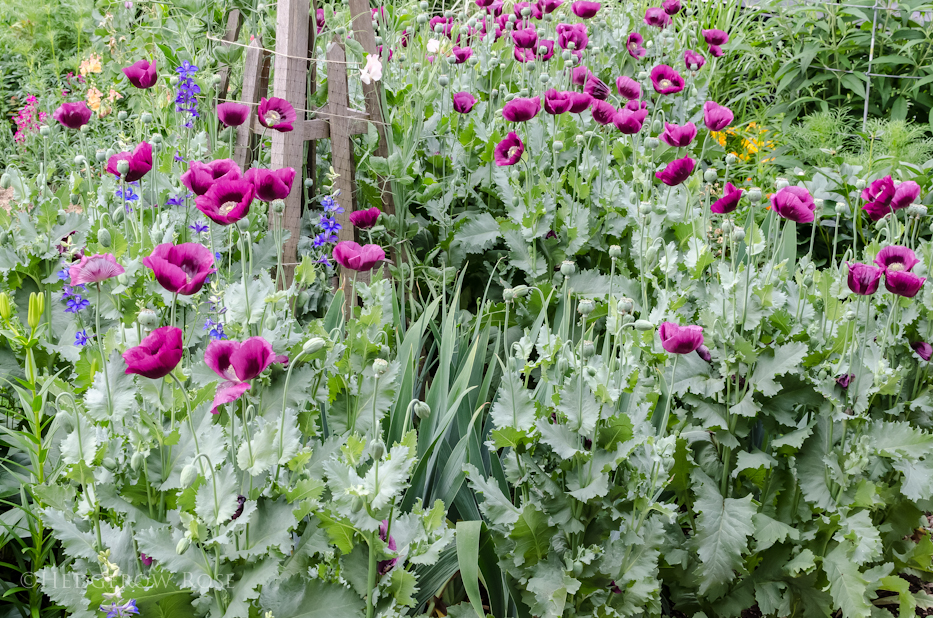
Every spring, when the poppies are in flower at our allotment, I get tons of questions about how to grow them. It seems so many people struggle to get them going from seed but the truth is, it couldn’t be easier.
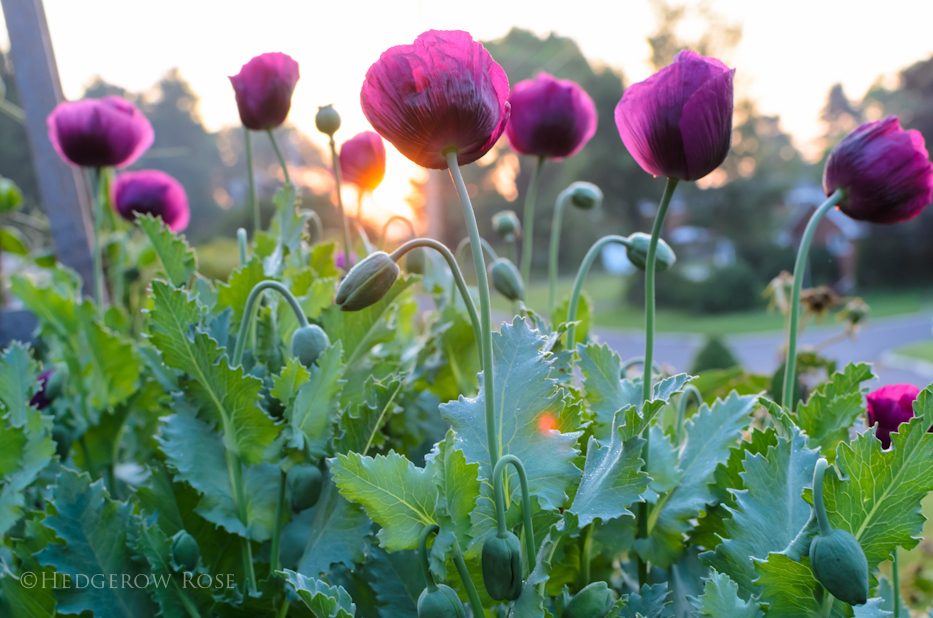
So, today we’re going to learn how to grow Papaver somniferum, otherwise known as “the breadseed poppy” which is an annual–it produces flowers and seeds in one growing season and then dies. (This is not to be confused with Papaver oriental which is a clumping perennial and returns every year from the same roots.)
There are 3 things that are most important to keep in mind when growing breadseed poppies from seed:
PICK THE RIGHT LOCATION Find a spot that gets FULL SUN because although they will bloom in dappled sunlight they will struggle and may not even return the following year. So, full sun; that’s a non-negotiable.
PREPARE THE SOIL You want rich, compost-y, well drained soil that has a very fine tilth. Seeds need light to germinate so we don’t want big pieces of mulch or leaves or sticks or anything that the seeds can get drowned in. Rake it until it’s nice and smooth and keep it weeded until you’re ready for the next step….
SOW SEEDS IN WINTER This is the missing element so many people skip. Papaver somniferum seeds not only need light to germinate they also need a cold period (also known as stratification.) I wait until around January/February and sow them right on top of the snow in the area of the border that I prepared earlier. That way, as the snow melts, it naturally disperses the seeds while giving them weeks more of winter cold which they will need to germinate properly in spring. If you live in a climate that doesn’t get too cold in winter, put your seed packet in the refrigerator for a couple of months before sowing.
In mid-spring, you’ll start to see pale green leaves emerge that almost immediately form a clump like tiny kale plants. These are your poppies. If they’re growing too close together you can thin them out to about 6-12 inches apart but don’t even bother trying to transplant the ones you thinned–they hate being moved and will most likely not survive it.
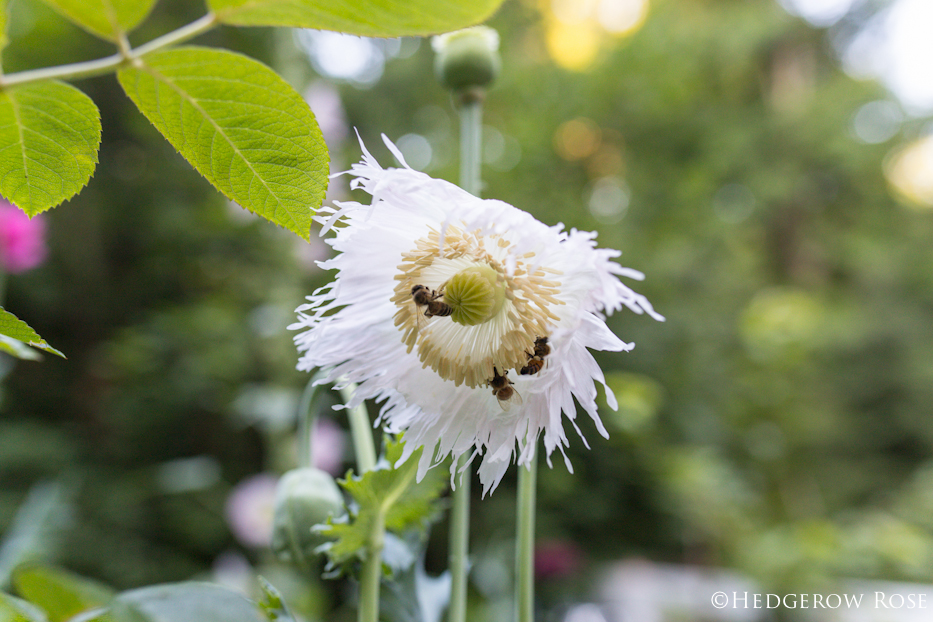
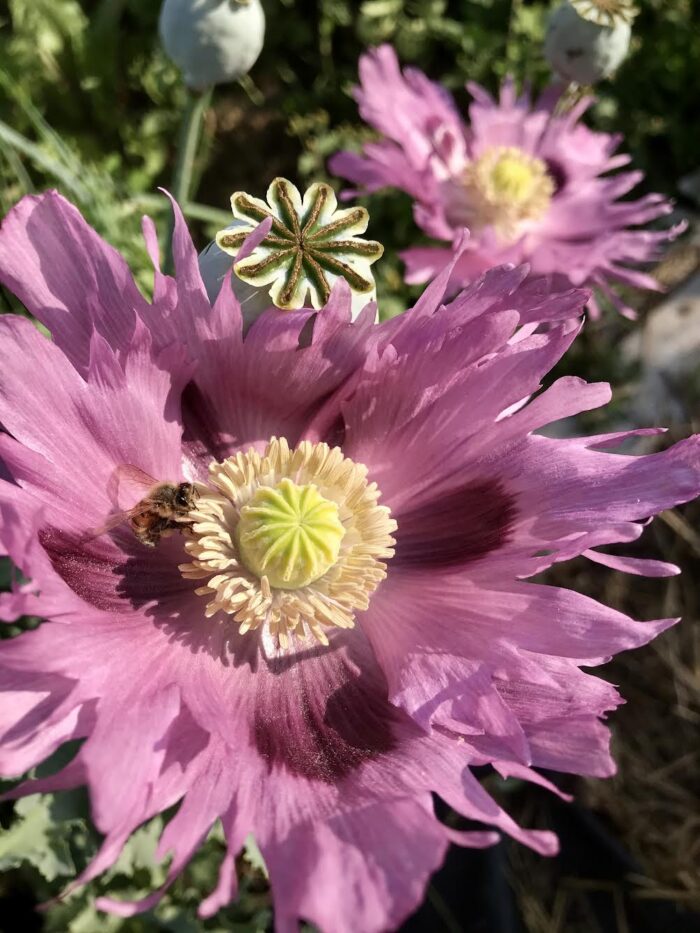
Here’s the best part. Once you get poppies going in your garden, they will come back year after year. Just make sure to leave the seedheads on the plant long enough that they are dried out and dropping seeds. (When my daughter was young she liked to take the seed heads and sprinkle them around the garden like a little pepper shaker.) The seedheads also make beautiful decorations in your home for autumn and winter. Sometimes I even like to tie them in bundles and stick them in my Christmas tree.

Let’s review! In my experience, poppies have been some of the most rewarding annuals to grow and will literally stop traffic! Sprinkle seeds directly on a prepared bed of rich, well-draining soil in full sun. When sowing, mix seeds with dry/spent coffee grounds to help with distribution and to keep them from clumping. Poppy seeds need light to germinate, so it’s important not to cover them up with additional soil or mulch. They also need a cold period prior to germinating so I sprinkle them directly in the garden in late winter (sometimes right on top of the snow!) As they grow, thin them out so they’re about 6″-12″ apart and then let them reseed in your garden for blooms year after year!