Crafting Winter Frosted Millinery Flora Embellishments
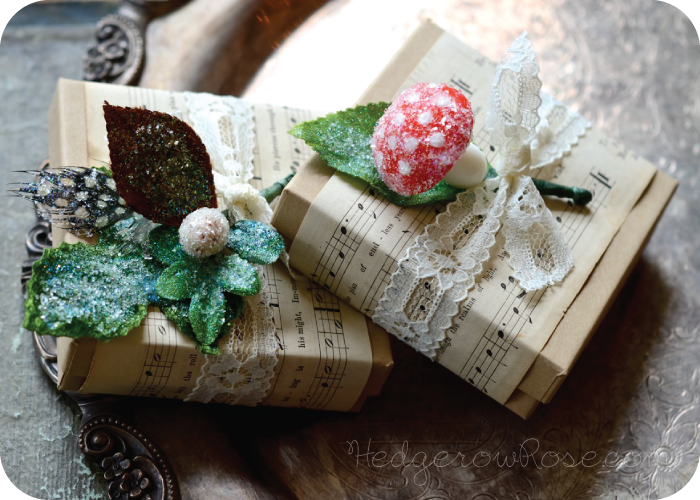
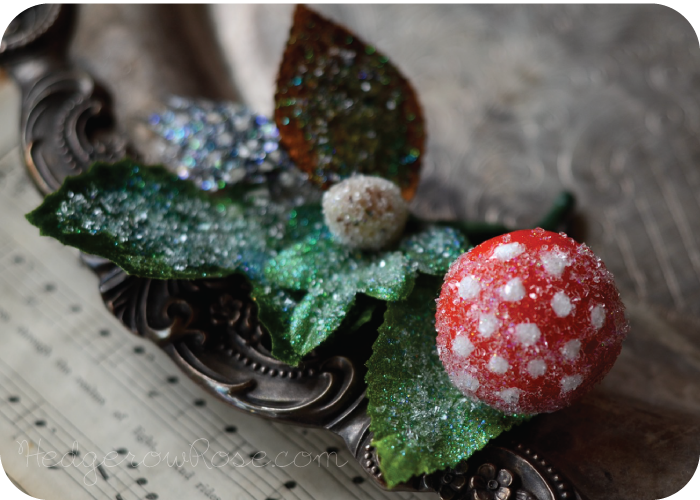
Vintage millinery embellishments, given a dusting of German glitter, are ready for the holidays. Wrap gift boxes with vintage sheet music, tie with a vintage lace ribbon and you’re good to go!
With the holidays upon us I thought I’d share this fun craft idea to embellish gifts for the gardener or simply someone who appreciates nature. Plus, homemade crafts using some upcycled materials are way nicer than those made in China gewgaws you find at the store, don’t you think? For this project I used some vintage millinery pieces, floral tape, Aleene’s Glitter Modge Podge and clear German glitter. It took about 20 minutes to put the ones I’ve shown in these pictures together and that’s because I was utterly confounded by the floral tape at first but it shouldn’t take you that long. Better yet, if you’re not in a rush, why don’t you craft a bundle while settling down with a glass of wine and your favorite Christmas movie. Now doesn’t that sound nice?
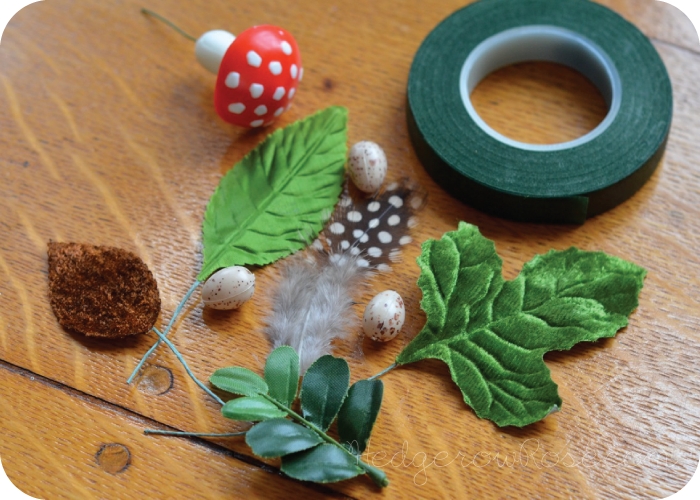 Gather your materials…
Curious as to where you can find vintage millinery supplies? I purchased most of these on Etsy HERE, but I also found the free-range, cruelty-free quail feathers and a few of my leaves on Ebay like the ones seen HERE. If you’re looking for those awesome vintage German Amanita toadstools, they can be be found HERE. The glitter glue and floral tape can be found at your local craft store, of course.
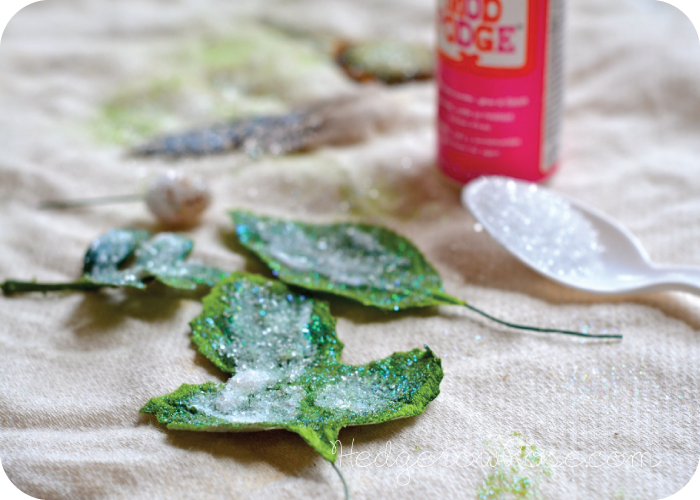 Glue and glitter, easy as that!
Using a paintbrush, spread a thick-ish layer of Modge Podge and then immediately sprinkle with clear German glitter. The Modge Podge that I used, and that I want to marry because it just makes everything beautiful, is made by Aleene’s and has a hint of glitter in it. This season I’ve been going through it like it’s going out of style, so I need to learn how to make this stuff myself since it’s pricey–for glue. As for the German glitter, I found a huge bag at Sav-on-Crafts that’s WAAYYY less expensive than buying it in the stores. German glitter is basically crushed glass so you’d think that you would have boo-boo fingers by the time you’re done with it, but it’s not as bad as that. Still, I wouldn’t let the kiddos get near it, just to be safe.
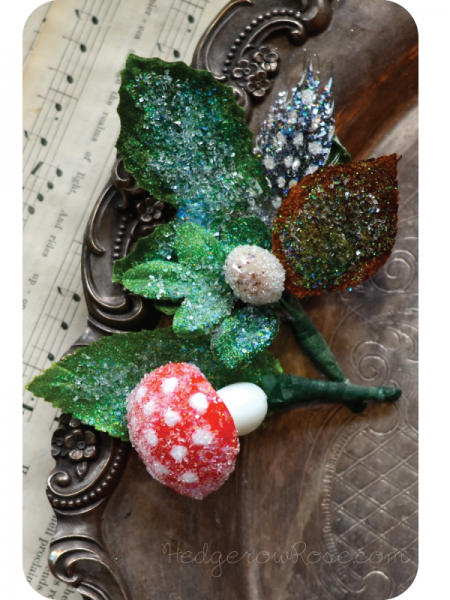
Arrange and wrap “stems” with floral tape and, Voila! You’re done!
This was the first time I’d ever used floral tape, if you can believe it, and I thought it would be sticky–I mean it’s called “tape” after all. Alas, it’s more like waxed paper, but once you get the hang of it, it holds pretty well. In a pinch, get out the ol’ glue gun to hold your pieces in place before you wrap with the tape. (What did we ever do without glue guns? Seriously!)
 I hope you enjoyed this fun garden-inspired craft! Happy Holidays!

