Making a simple, vintage rhinestone button ring
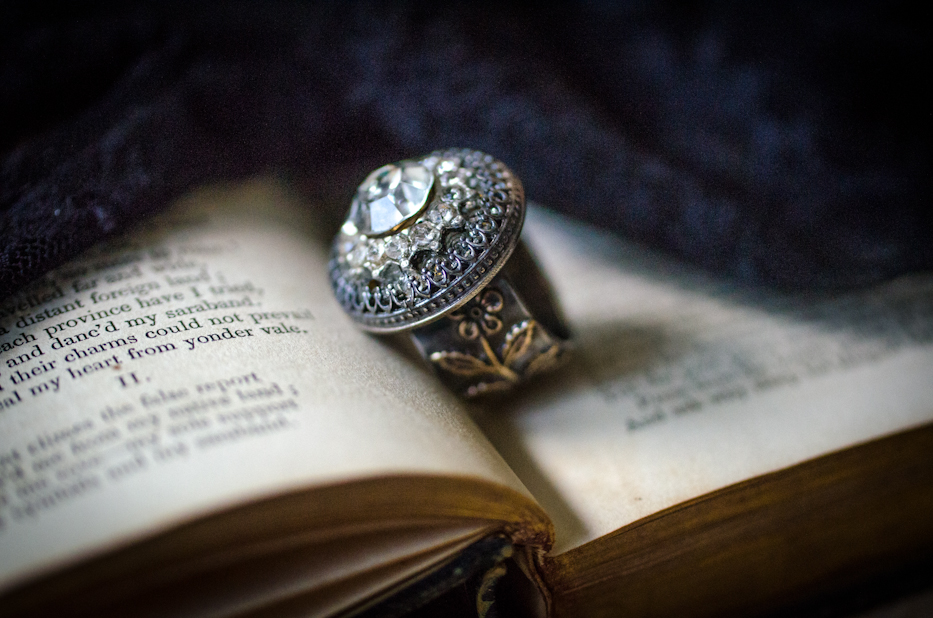
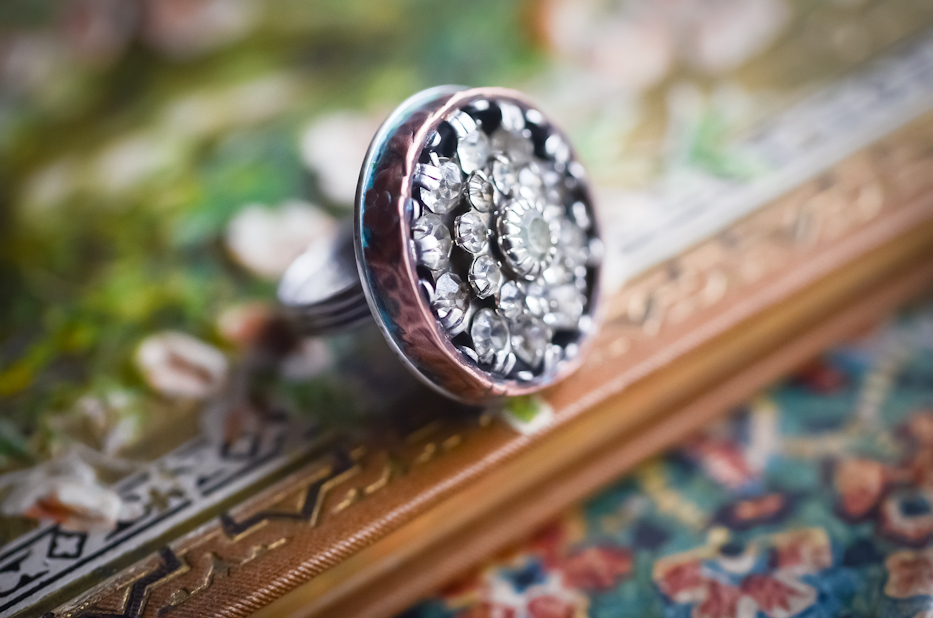 My husband and I love to go antiquing and a few weeks ago we were visiting one of our favorite shops when I found a lone rhinestone clip-on earring. All the stones were intact and in pristine condition and even if they weren’t, I simply can’t resist an old sparkly bit or bob. I knew right then that I was going to make a ring out of it. I’ve always wanted to share my steps for making my jewelry, so here we go! I know the title of this post says “button” not “earring” but really, it’s the same principle, and I’ve made rings out of both, like here, and this one was my favorite, and I’m still sad (but also grateful) that it sold.
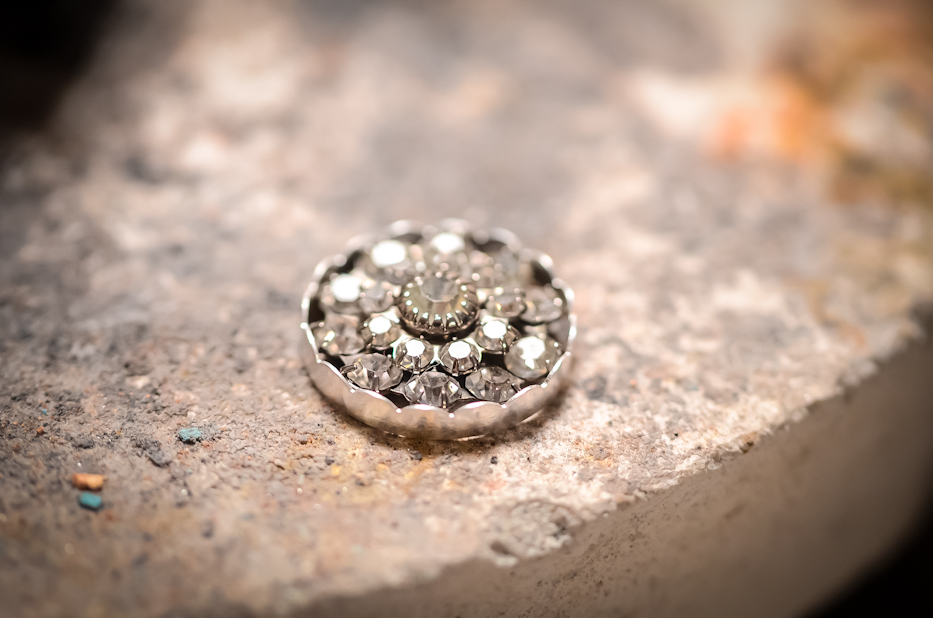 This is an extremely simple design, but the steps that I take are pretty much the same even for my more complicated pieces. I always start with the stone(s), getting their settings put together first and set aside. I often use fancy bezel wire as I like the look of it versus the plain, especially when it’s framed out with a different textured wire like this piece, for example. For this ring, I shaped and soldered a bezel from this scalloped wire but then ended up switching it out for a gallery wire instead down the line.
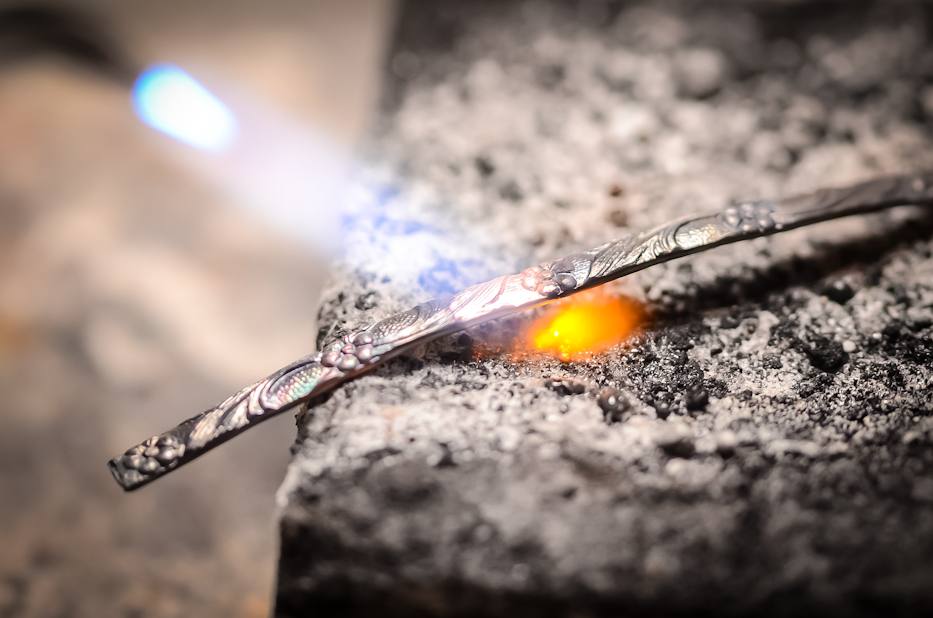 I sometimes like to use thicker gauge wire with a fancy design, for example, as a buffer or base for the stone. This rhinestone cabochon (let’s call it that now since that’s basically what it is once the backing is removed) has a low profile, that I planned on enclosing with a piece of copper wire like a picture frame. I love copper and like to include it, or brass, in many of my rings but I try to keep it away from where it might touch the skin as some people have a reaction to it. In order to shape this copper wire, I had to anneal (heat in order to soften) it first. Copper looks gorgeous when it’s been annealed, taking on a rosy/purple hue.
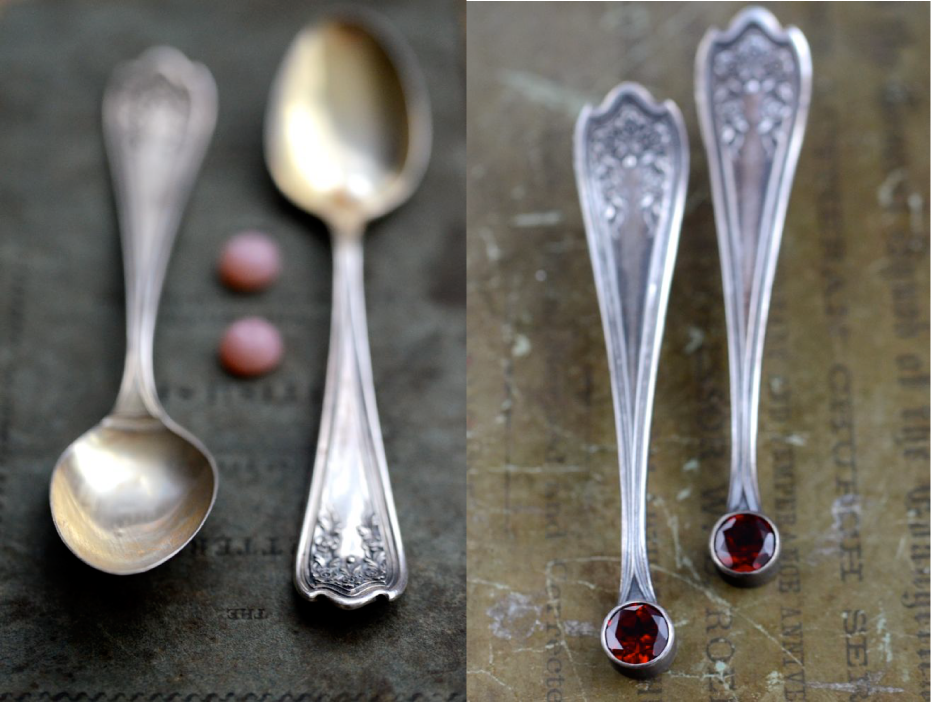
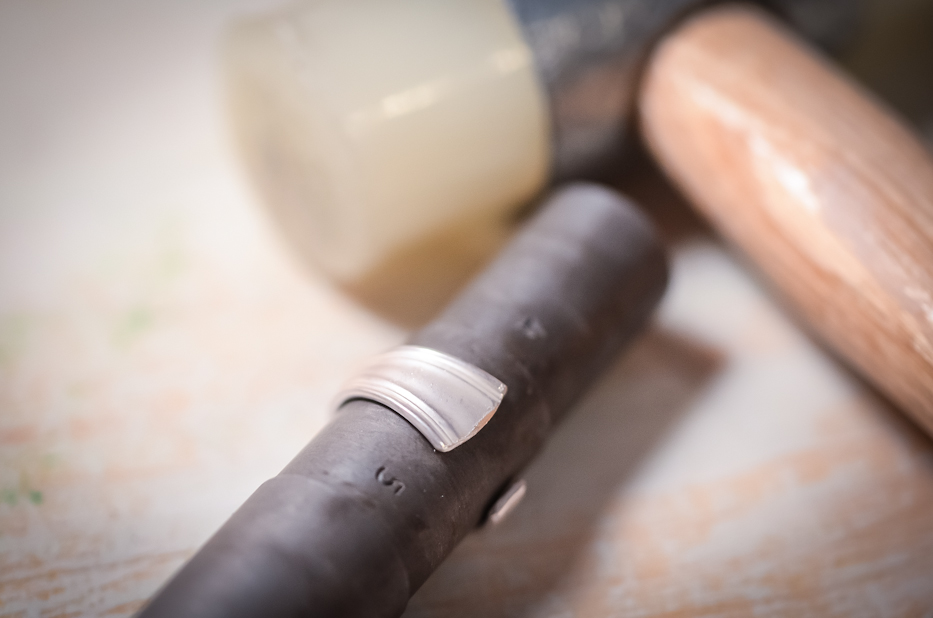 After all the business that is associated with the stone and it’s settings are done, I move on to the shank, or band. This is usually my favorite bit and I have loads of fun adding detailing by sweat-soldering (I’ll save that for a different post!) tiny designs all along the length of the band, like this. I didn’t do that here, though, simply because I am out of silver! I had to find something else to use instead, in this case I took an antique spoon, sawed off a tiny piece and shaped it on a mandrel. A simple, simple ring.
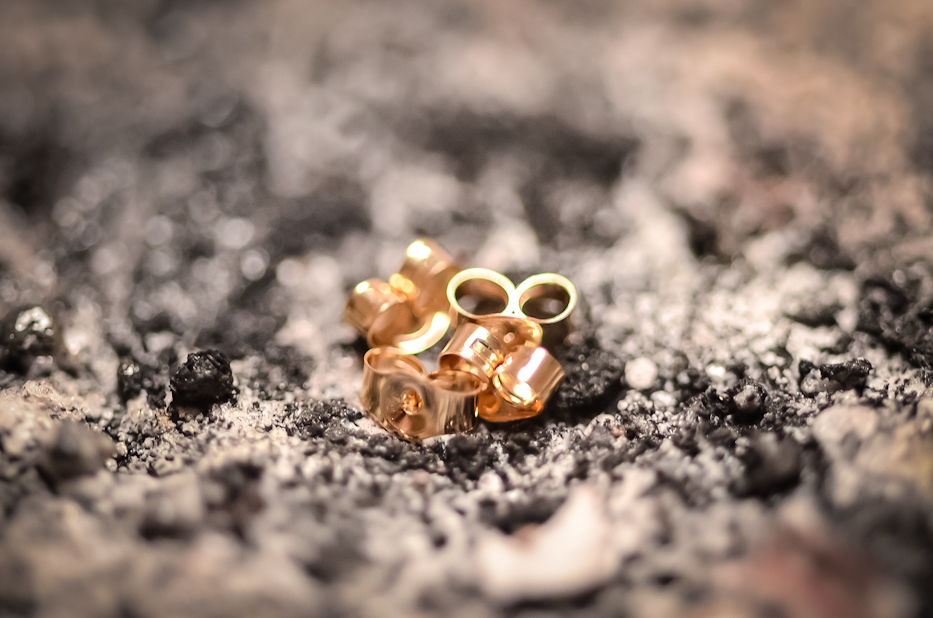
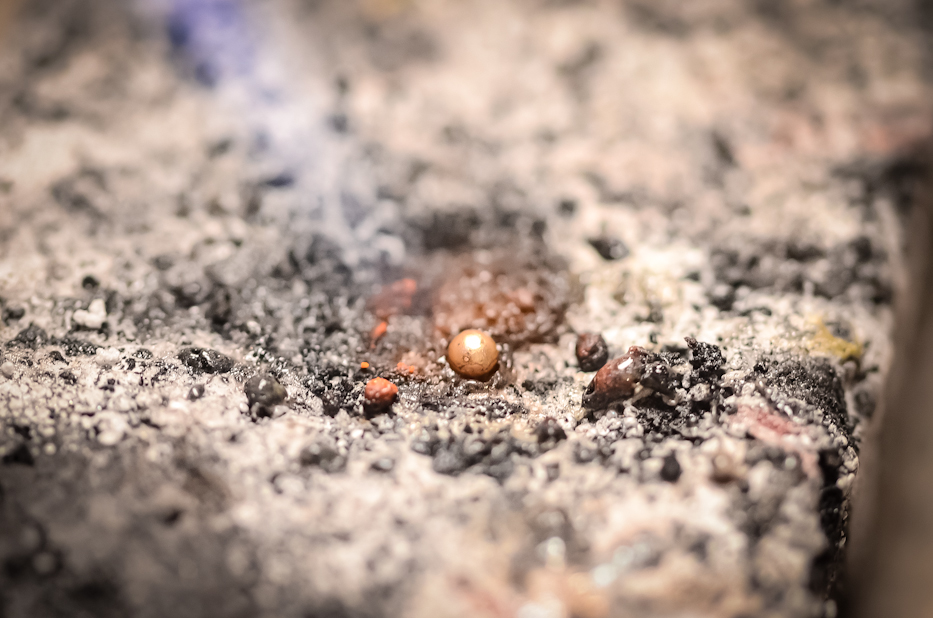
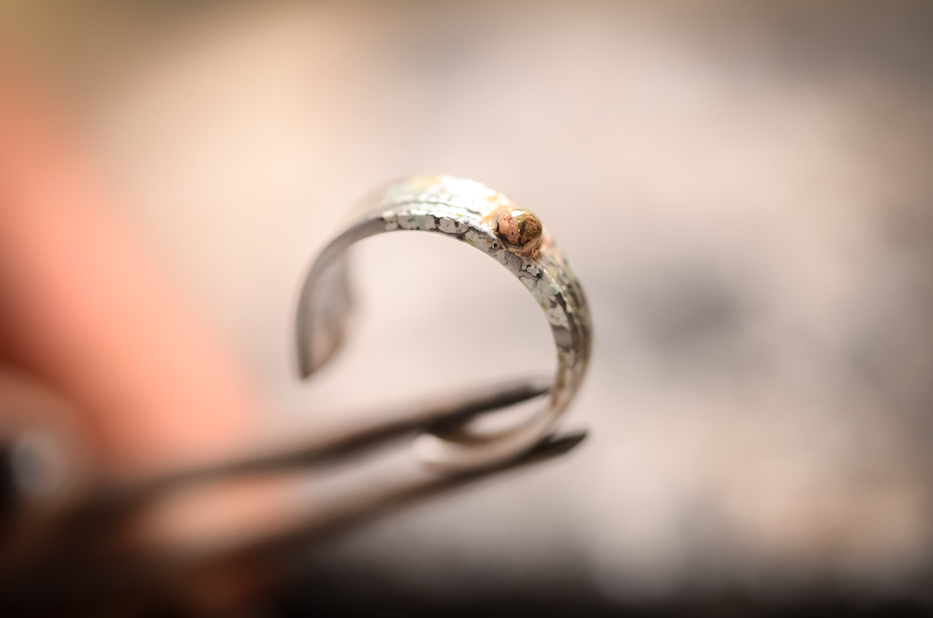 A spur of the moment decision was to add some pebbles to the bottom of the band. I like surprises underneath that are only visible to the wearer, so I often stamp words and/or solder little doodly things underneath the setting. For this ring, I melted down some gold and fine silver for the pebbles. All of my metals are recycled like this either by me as a design element or by the refinery I send my scrap to. Nothing is wasted.
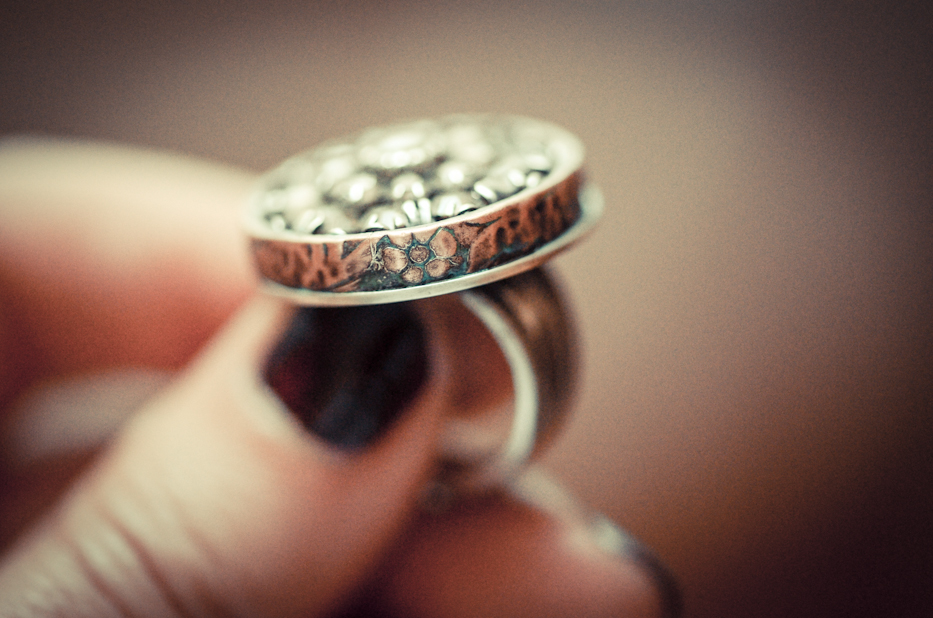 One of the last steps is to solder the bezels to the baseplate and then the shank to the base. I apologize for not having photos of this process. It was difficult to take pictures and solder at the same time! Also, of course, there are a billion steps in between involving a lot of sanding, cleaning, pickling, polishing, etc. I actually loathe that bit, but anyone who’s ever tried silversmithing knows that it is absolutely vital to have clean, well-fitted components or they simply won’t solder properly. Also, before setting the stones and applying any patina I pop the ring into a tumbler for a good 12 hours to give it a final cleaning and strengthen the metal. In the photo above, all those steps have been completed already and there’s that copper “frame” which has been given a bit of a faux finish with paint. I like to wear my rings when I’m at the beach as the saltwater will give the metal that gorgeous blue-green patina, but I’m a bit far from the sea at present.
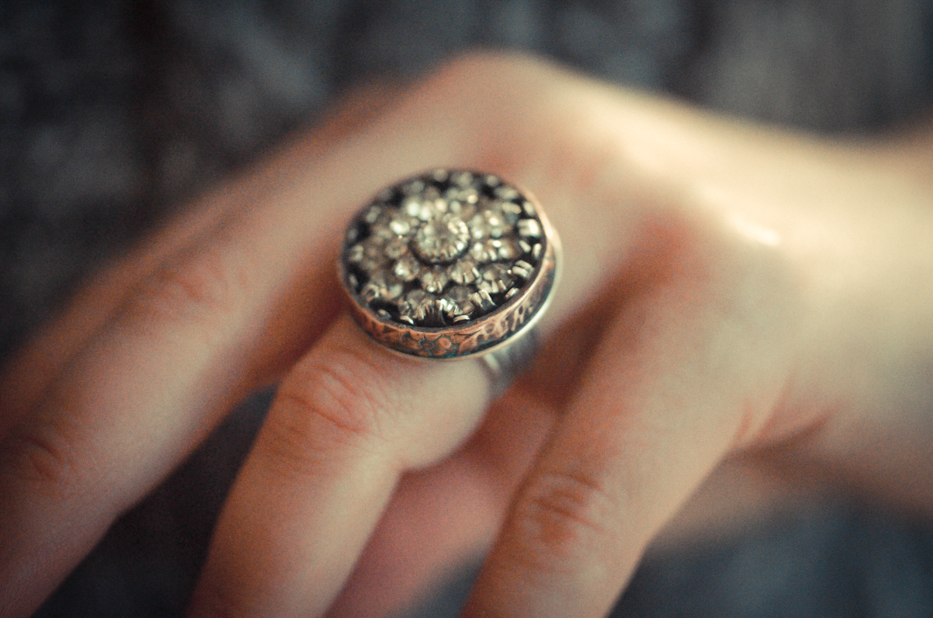 And that’s the making of a very basic, vintage rhinestone ring! Hope you enjoyed it!


What a post! I love when you describe your process. Someday I would like to send you some gold pieces I have for you to melt and make new things with for me to wear!
I can’t wait to see what else you make in 2016
Thank you Juliette! Your support over the years has been soooooo appreciated!
xoxo,
juju
Ooooh I love it! The band reminds me of your forget me not ring, which one day God willing, and of course you making it, I will own one! lol
Oh my goodness, thank you! That is so kind!