An update on the front garden
Goodness gracious, I think I’m overdue for a post! Sorry for the radio silence, everyone. It’s not like we haven’t been up to our eyeballs in projects, it’s more that none have them, while necessary, have seemed that interesting to blog about! Here’s an update on our front garden, though, as we recently expanded it even further and built an area for my rose nursery.
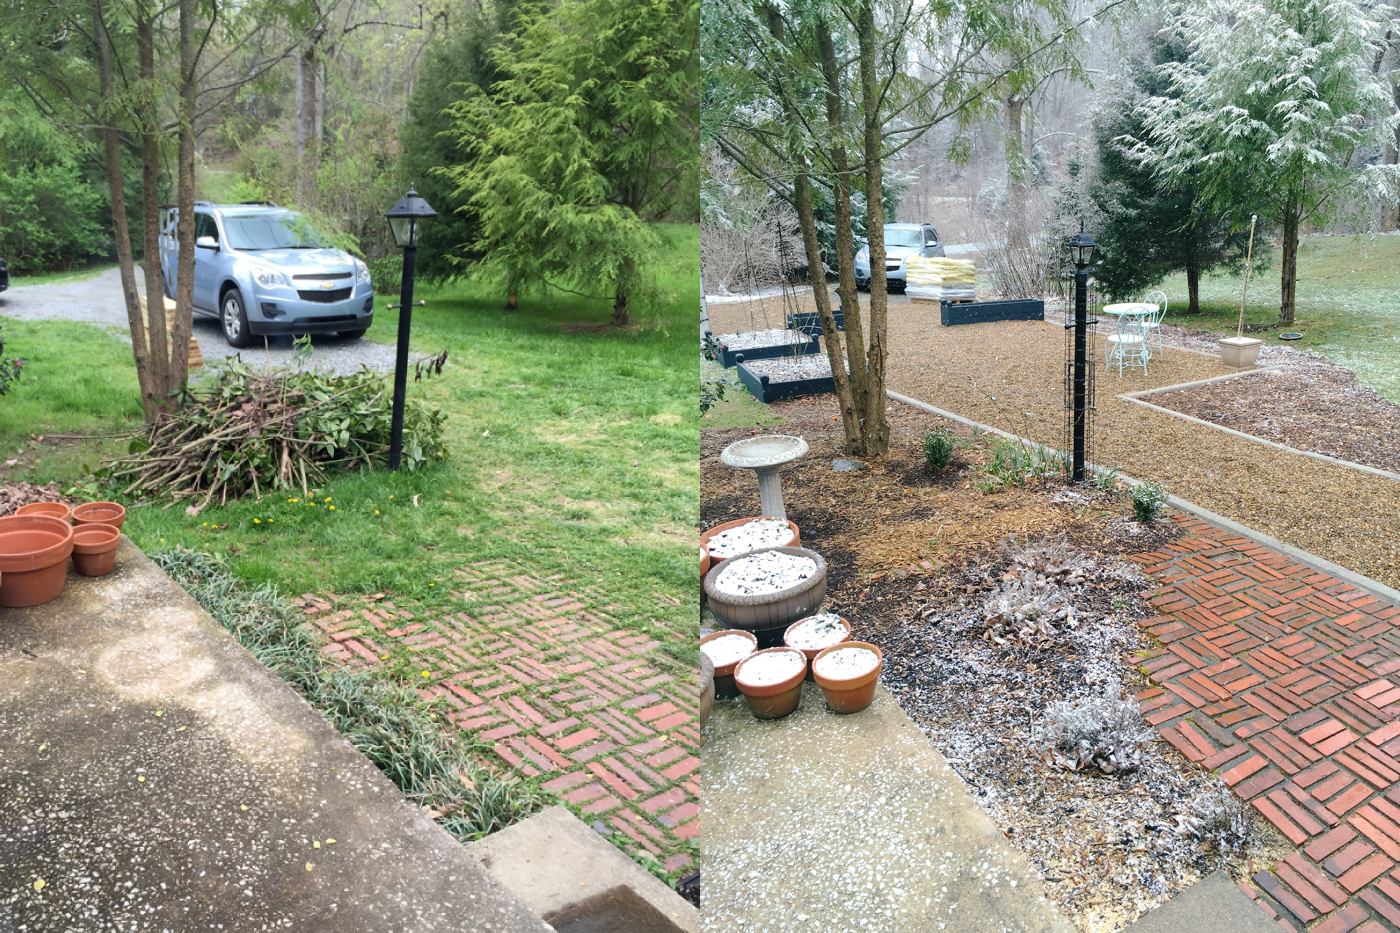
When we first saw what is now our new home, it never occurred to me then that the garden would primarily end up being in what is essentially the driveway, but after observing which areas get the most sun, that’s just the way the cards landed and we are doing what we can to make the best of it. I think I’ve shown you this photo above before? The one on the left was taken about a month after we moved in and the one on the right was taken just yesterday. But this illustrates my point about the driveway….
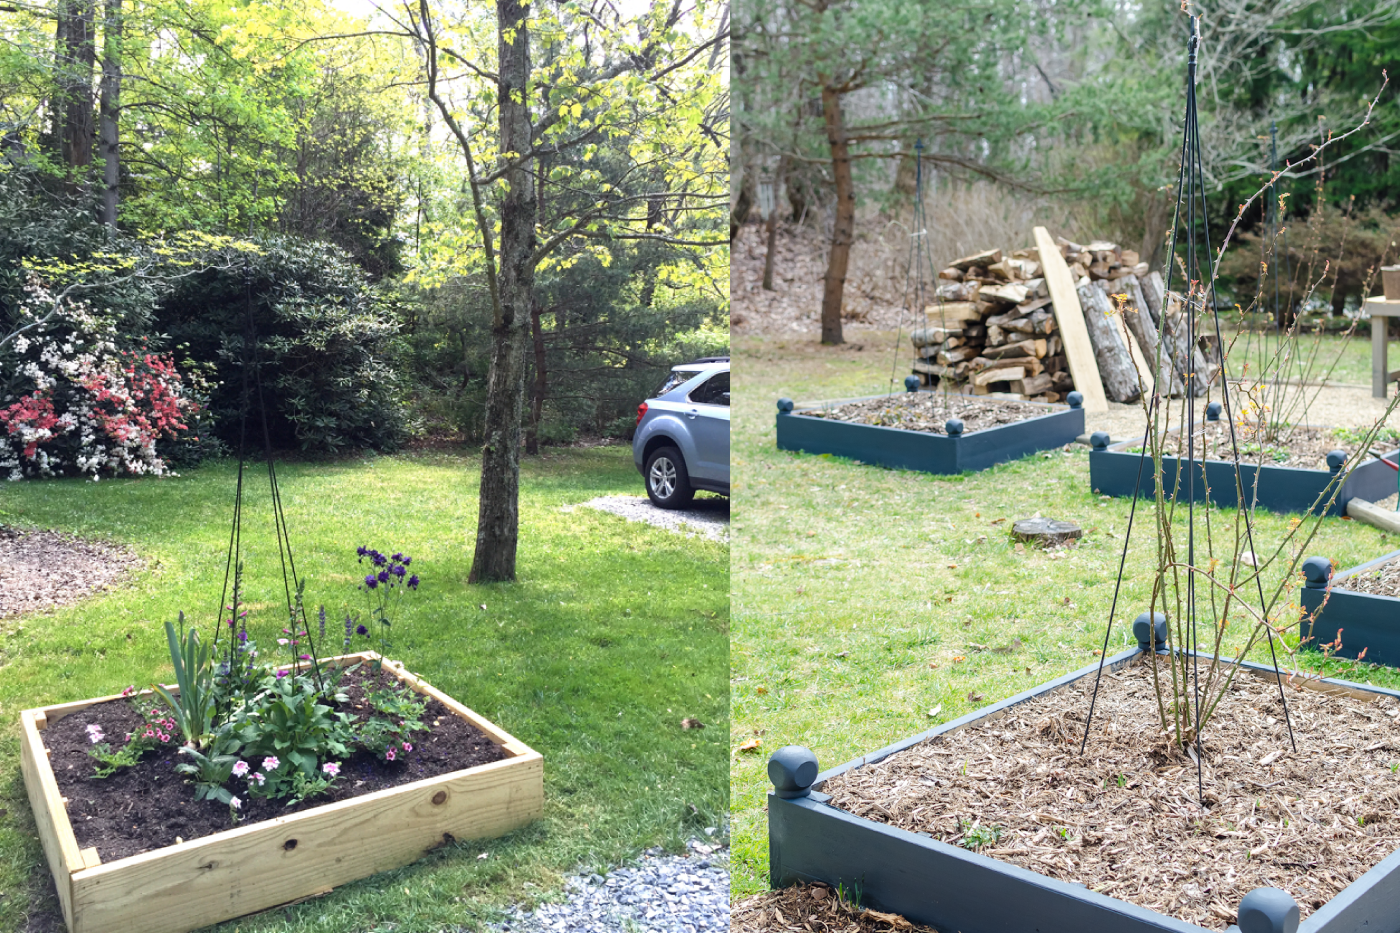
…as does this. What we’ve decided to do is use this L-shaped gravel drive as part of the garden, instead, as it has sun pretty much all day long whereas the rest of our yard is dappled. (And someday we’re going to reposition the driveway altogether so you don’t see cars from the garden area at all.) We went back and forth as to whether to add more raised beds to this part of the garden and decided against it. We’ll be grinding the tree stump down and leaving this area around the beds as lawn. The woodpile will be relocated to the shed once it gets painted.
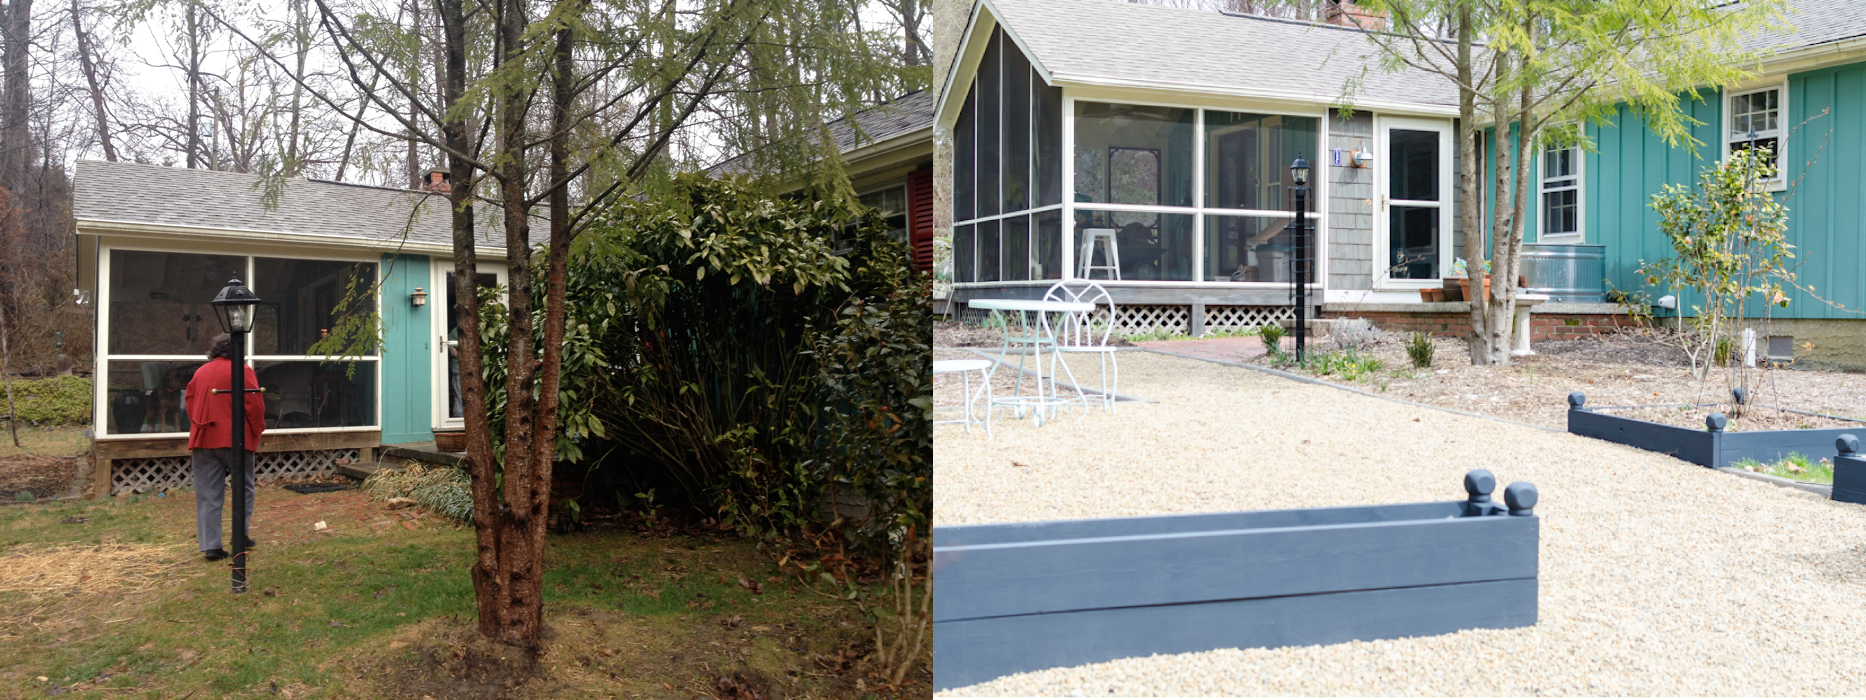
Our home is a humble one, a small mountain cottage originally built in the 1930’s as a retreat and a teaching center (or so we were told.) With that in mind, we chose materials that were rustic, simple and budget friendly. It also gave me the excuse to incorporate a lot of pea gravel into the layout which made me happy. I’m pretty sure that no one here will think it too weird, since you’re all gardeners, too, when I say I love gravel. It just makes everything look so tidy don’t you think? Surrounding the raised beds, which solved our poor soil problems in a flash, are gravel paths and patio. The photo above shows the new planter boxes Jesse built the other day which flanks the entrance. The lady in the photo on the left is our realtor showing us the house for the first time…a year ago today! She was wonderful. You’ll notice the front door now has cedar shake surrounding it. That was another one of our winter projects, and probably a separate post!
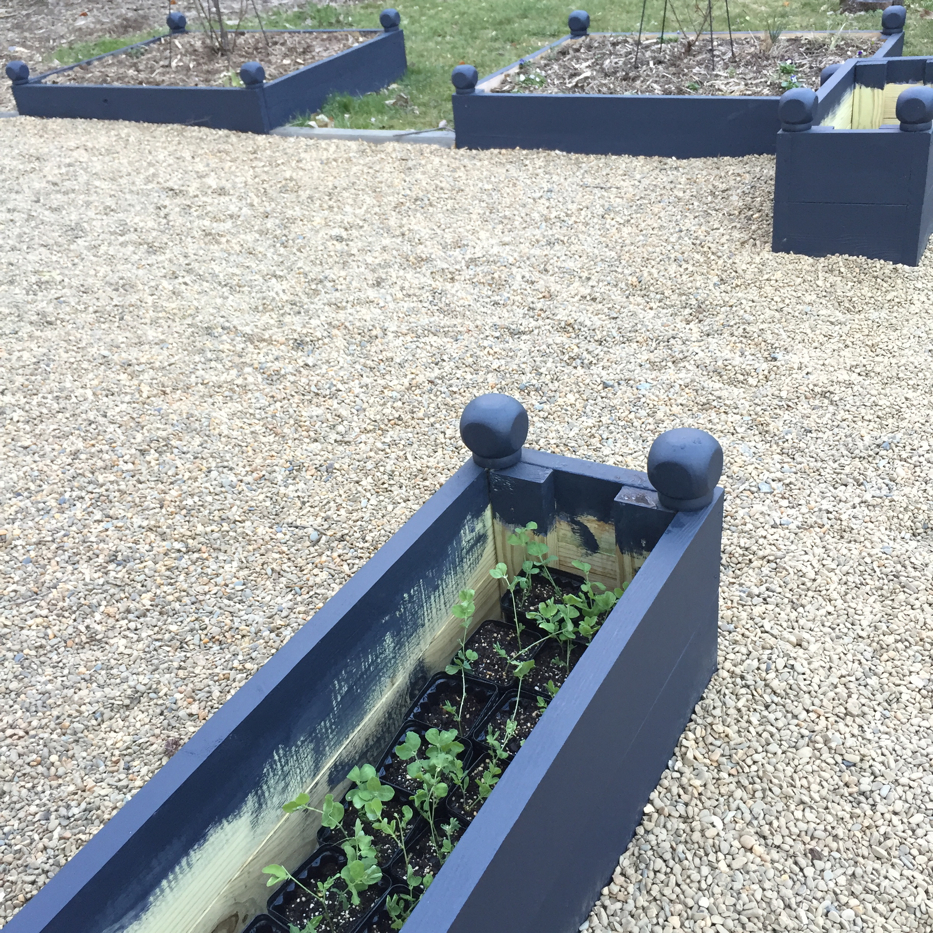
Here’s a view of those planter boxes. Those are some of my sweet pea seedlings which will get planted out soon if the weather cooperates. All the beds recently got a coat of paint: Farrow & Ball “Railings” which in person is a deep graphite hue with just the teensiest hint of blue. In some of these photos, strangely, they’re reading as more blue but they aren’t like that in person.
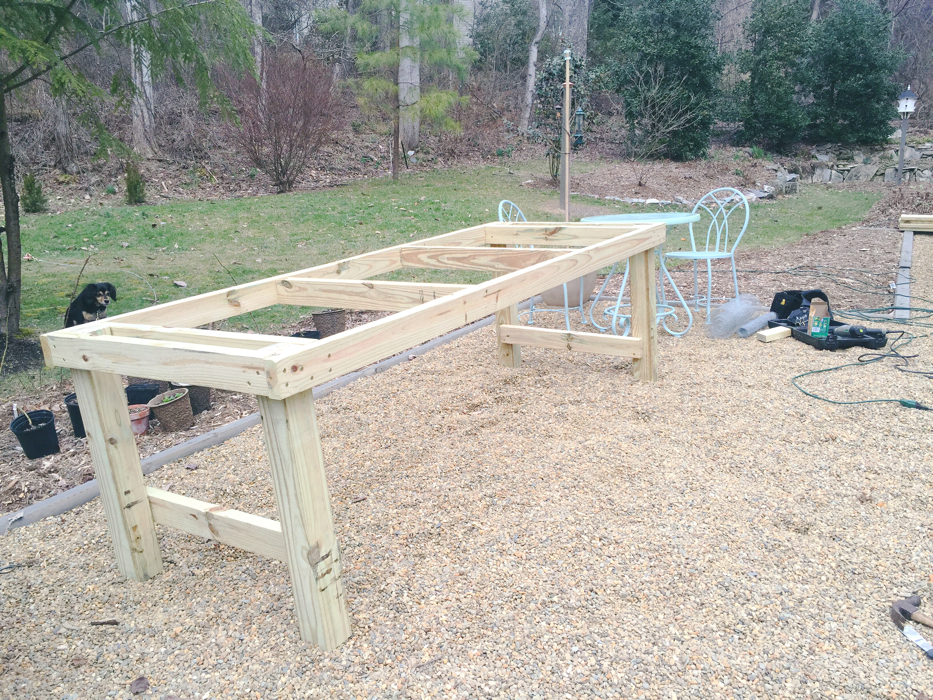
Here’s my new table in progress. So exciting! The bistro set behind it also got a new coat of paint, Rustoleum “Robin’s Egg Blue.”
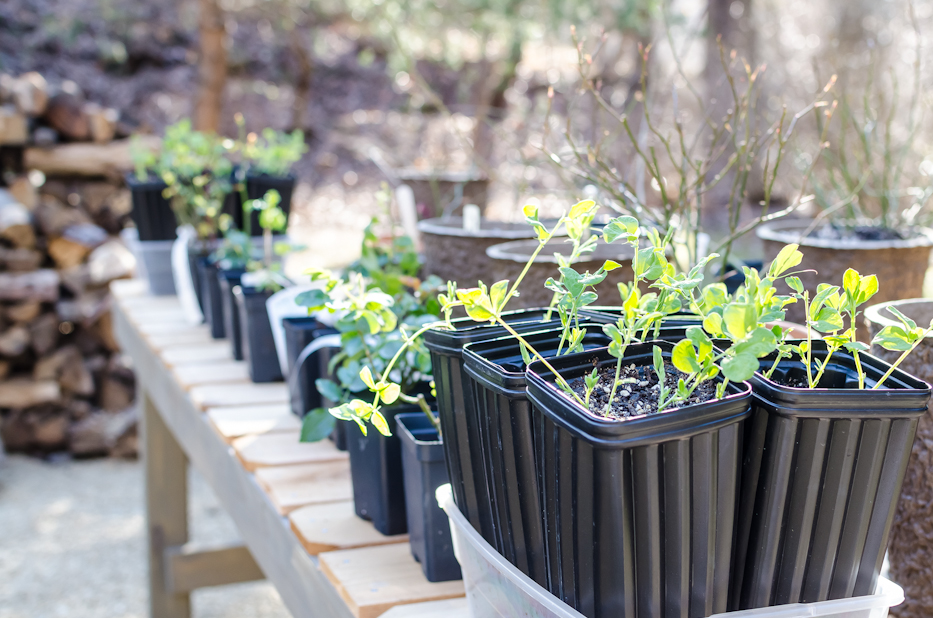
And here it is completed. We used cedar fence planks as the topper. I think this table is going to see a lot of action this summer!
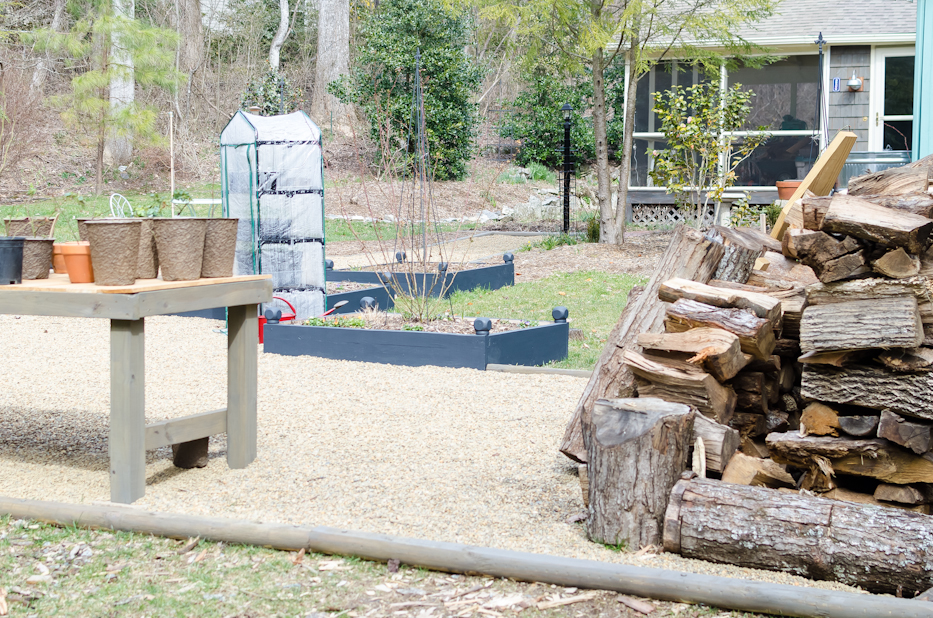
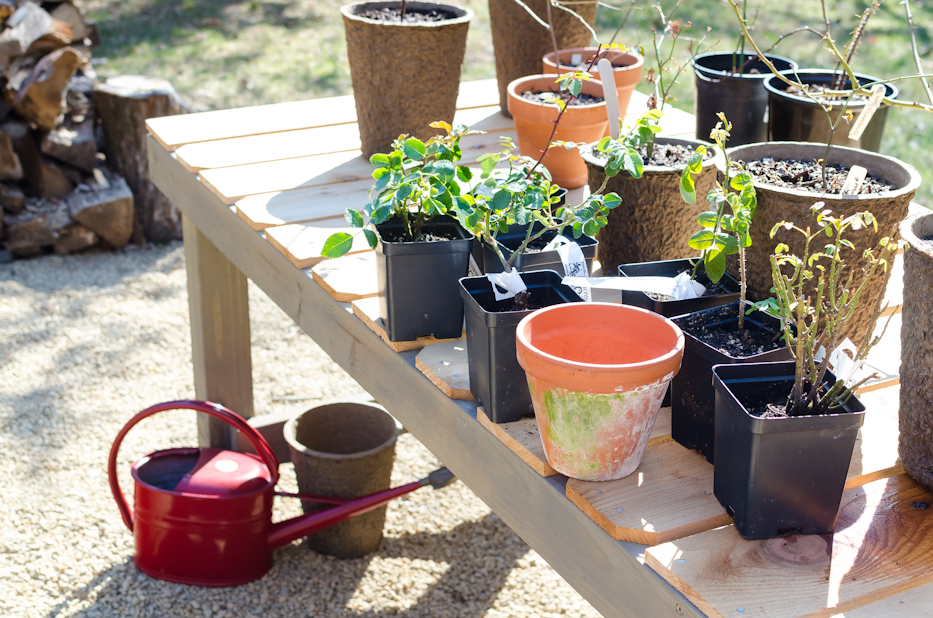
The section of garden where I will growing the baby roses and other seedlings I jokingly dubbed my “propagation station” months ago but the name stuck. It’s pretty much a dream come true to be able to finally have a designated area to do this as in the past I stuck the young plants wherever I could find the room. Nearby, is the not-attractive-but-it-gets-the-job-done plastic greenhouse. Hopefully, by this time next year, I’ll be showing you a more permanent structure. Gardens are always a work in progress, aren’t they?
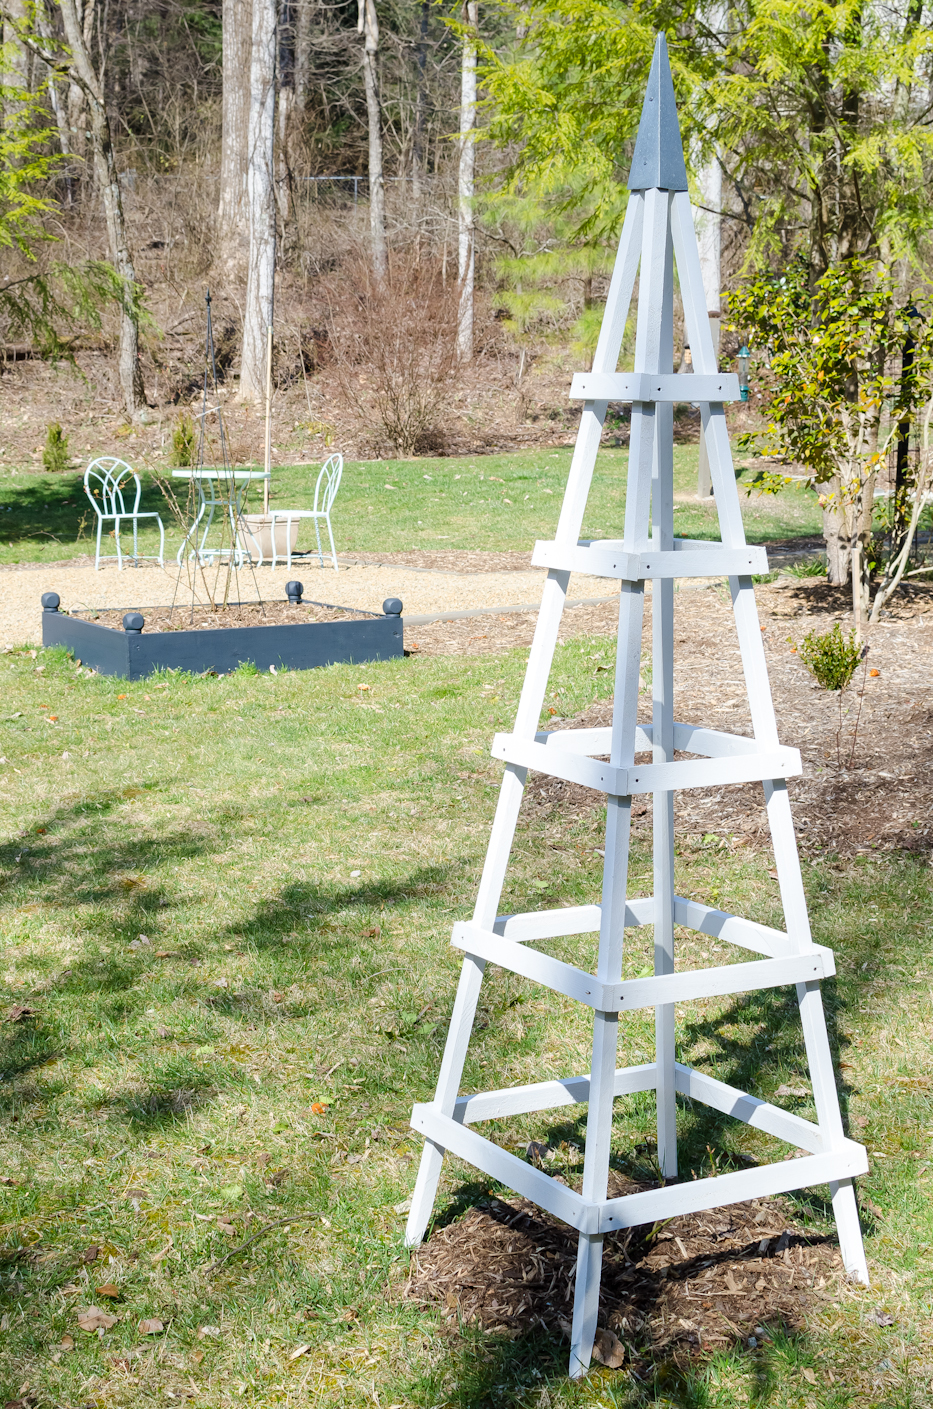
I do love this new tuteur we recently installed. I can see it from my bedroom window and it looks so pretty! There is a wee ‘Sally Holmes’ planted with it and, of course, the area around it will be expanded/grass removed.
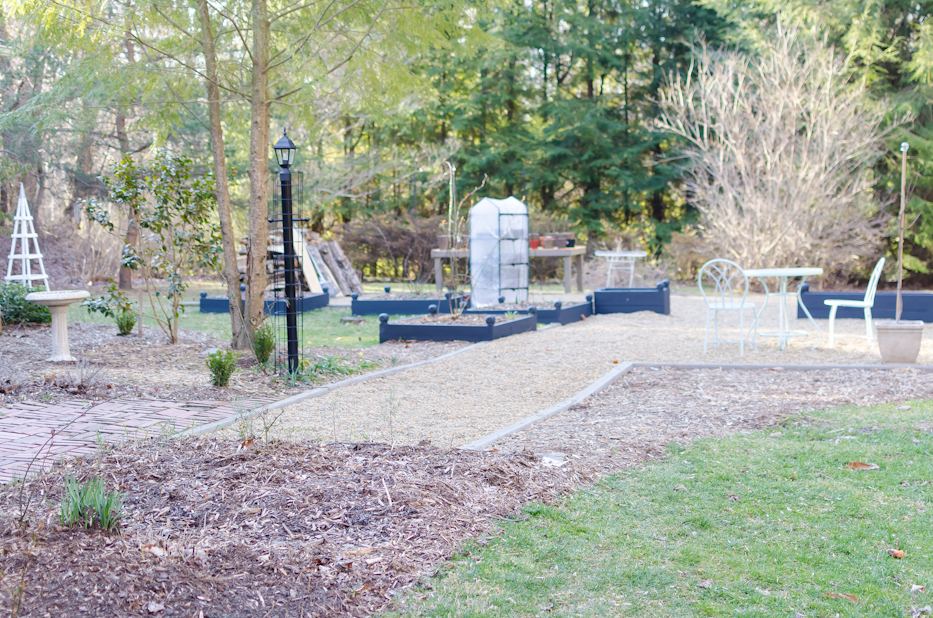
Here’s a view of the front garden looking back the other way. The mulched area in the front will be brought outwards this summer and planted out. It’s hard to tell since it’s March and everything looks blah right now, but there is a line of roses that flanks the gravel “patio” in the foreground. We also have 72 boxwood babies arriving soon which will line the beds.
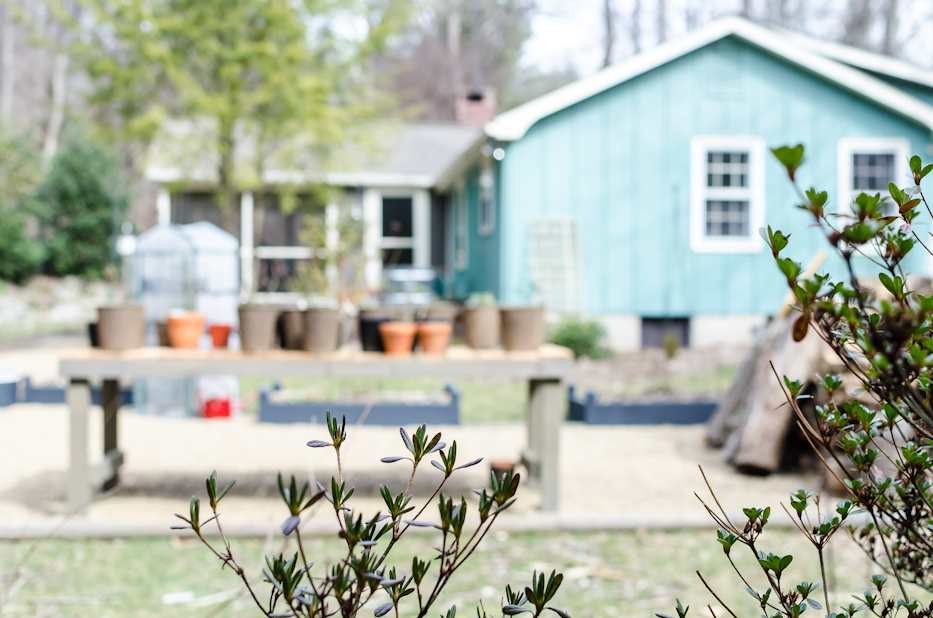
Last, an update on the house color. We think we finally found a painter who will do the work for us at a very reasonable price so, cross fingers, the color of the house will be different next time you see it! No more turquoise!




Laurie, you’ve done so much over winter! Getting out to feed the chickens is the extent of my outdoor winter activity. Yes, yes, yes to gravel. Our driveway runs through our garden, too, and gravel was my choice, but, we couldn’t even find pea gravel in the area. Something to do with snow removal. Gravel unifies the area and looks like part of the garden. Can’t tell you how much I love the look. A mountain cottage surrounded by roses and perennials … sounds like something from a story book.
Feeding the chickens sounds like the best kind of winter activity, if you ask me. Do you know, it took us literally months to find someone who would deliver gravel to us (and it was also twice as much as what was available in PA.) If you’re still on the hunt, try looking for a quarry in your area–that’s how we got ours. Thank you for your encouragement, Andrea!
Yay!!! Loved the new post and the photos of the garden in progress! Really loved those fancy planter boxes and also the color!
Can’t wait to see pics once it’s all in bloom.
Thank you Holly! It was such a relief to settle on a color that we liked for those raised beds/planters. The white paint was causing me distress, haha! Hope you had a wonderful weekend!
Awesome job!!! Everything looks so good. Nice to see the bones of the garden in this stage–you are so talented!
Aww thank you Eve! I can assure you, there is a lot you don’t see in these photos that needs some serious attention.
Wow -it looks great – you’ve made a ton a progress in a short amount of time! Isn’t it nice to have full length seasons to enjoy outside in NC? I love that there is a real spring where you can actually do things outside. We just had the snow melt yesterday in Wisconsin. Your raised beds look really sharp in the color you guys chose! Not to hijack your post, but wanted to know if you could share any tips you have in sowing Lauren’s Grape Poppies directly outside? I haven’t worked much with seeds before and I have a couple of packets of Lauren’s Grape to sow. I was also curious if you’ve ever planted Hyacinth Bean Vine before? Many thanks!
Hi Cole! We’re getting there…little by little. And yes we are really, really enjoying these spring-like temps!
 Wait until the weather warms up and sow beans under about an inch of soil. Have fun!
To answer your question about the poppies and the hyacinth bean vine, I actually have a page written with tips on how to sow/grow each of these. Click HERE. But! To quickly summarize for the poppies, there are three things I make sure to do when I sow my seeds: First, the bed should be prepped ahead of time (I usually do this in autumn) with lots of compost b/c they seem to like a rich, well-draining soil (in full sun.) Second, I make sure I sow the seeds when it is still cold out (late winter seems to be a good time) because they need a chilling period. Third, the seeds are lightly scattered on top of the prepared bed (sometimes right on top of the snow) and not covered because they need light to germinate. So, make sure the bed doesn’t have any mulch layer but has a fine tilth so the seeds can get the light. The Hyacinth Bean Vine is much easier.
Thank you very much for the great info!
Is there any slight chance I could beg and grovel at your feet to request you create one last Ruby Eleanor of Aquitaine ring?
She is my ancestor. I saw your ring last year, and kept every spare penny to save up for it, and now you are gone! I am heartsick.
Your creation was exquisite!
Hi Robin, you are so kind, thank you! Unfortunately, I no longer have the materials I used to make that particular ring–they were more of a one-off. We’re currently still setting up our new home but when I get my metalsmithing space put back together I will be able to create similar pieces. I can email you when I have something you might be interested in, if you’d like. Thanks again!
I love it. I have those same fleur-de-lis obelisks in my garden ($25 from Amazon, such a bargain)! I am in love with your blue/grey boxes. What a great idea and so easy to make. I wish my hubby would let me do that in my front yard!!! I want more roses in my front yard but he wont let me get rid of the darn lawn that is such a waste of water.
Aren’t those obelisks great? Simple, inexpensive and does the trick. That stinks you can’t get rid of the lawn. Maybe you can use the argument that it will be less for him to mow…
I’m on the hunt.. Do you have a link to where you purchased them from?
The white, wooden obelisks? Got mine on Ebay.
Thanks!!
Wonderful, wonderful, wonderful! It’s been so fun to catch up with your posts. I so look forward to seeing your garden as it progresses!
Thanks! I’m so pleased to have you here!
These are some lovely ideas ! Your garden will look great when you finish it. We are making some changes in our garden now too, and the newest are my raised beds, finally I’m planning those two years already and we finished them yesterday. Got some lovely ideas here. Thank you for sharing!
Hooray for raised beds! They’re the best, aren’t they? Totally worth the effort. Hope you’re having a wonderful spring!
Good grief – I finally had a chance to read your post. What an amazing transformation. I love the pea gravel .. keeping that in mind!!
It makes that very satisfying crunch*crunch*crunch when you walk on it, too.