
Installing a Trellis for Climbing Roses Onto Your House

 Installing a trellis onto the side of your house is actually quite simple!
See the steps below.
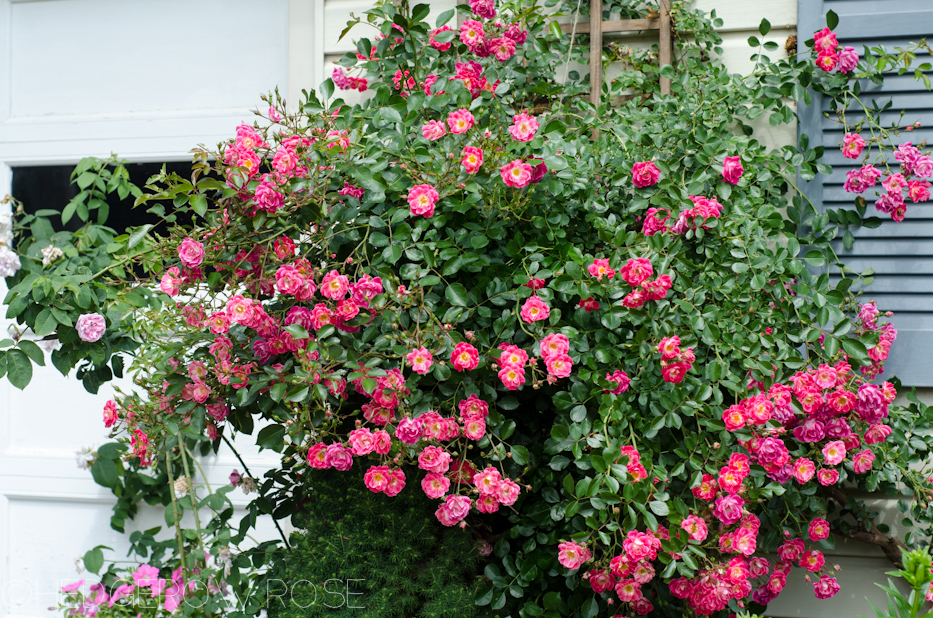
In the past, I’ve talked about how much I loved using siding hooks to hang trellises onto your siding covered house. And I still do love them because they can easily be installed/removed and they don’t put any holes into your siding. However, I’ve also said that they’re not meant to support a lot of weight, and I knew it was only a matter of time before ours needed to come down and a trellis installed “the proper way.” Well, that time came a couple of days ago when I went to prune our ‘Pink Supreme Flower Carpet Rose’ which was intertwined with ‘New Dawn’. A couple of minor tugs on the canes, and the whole thing came crashing down. It was a disaster of epic proportions. And if you don’t believe me, scroll down to the picture below because that shows what these roses looked like in full bloom so I’m sure you can imagine how many long, thorny canes were now suddenly sticking every which way. I think I just stood there for a full minute in disbelief, but then I got my pruners and went to work reminding myself that if I ever had to do some serious re-maneuvering, now was the time while the roses were still dormant.
A lot had to be cut back and it was kind of heartbreaking. But in the end we were left with plenty of room for ‘New Dawn’ to grow and fill in the now empty space without being overshadowed by ‘Pink Supreme’. After he was finished, my husband said it was easier than when he installed the siding clips, so go figure. Here are some things we did:
1) First we consulted Martha just to make sure we were on the right track, and we were. The spacers we attached the trellis allows air to flow and prevent rot which is especially important if your house is sided with wood shingles.
2) Next, Jesse cut small sections of scrap pressure treated wood for the spacers. They were about 2″ thick and 12″ long. (Our trellis is cedar but we didn’t have any cedar scrap laying around so pressure treated it was.) Whoops, our trellis is teak! See below for link.
3.) Jesse pre-drilled the holes into two spacers using self-drilling outdoor screws and then installed them onto the side of the house. (We placed the spacers so that they would support the trellis in the center.)
4.) The last step was to attach the trellis to the spacers, making sure it’s even of course (a level would be handy for this).
All in all, it only took him about a half-hour from start to finish. You can build your own trellis if you’re feeling particularly ambitious. {EDIT: I’m such a ding-a-ling, this trellis is teak, not cedar. What was I thinking? Anyways, you can purchase them in a variety of sizes from Gardener’s Supply.}
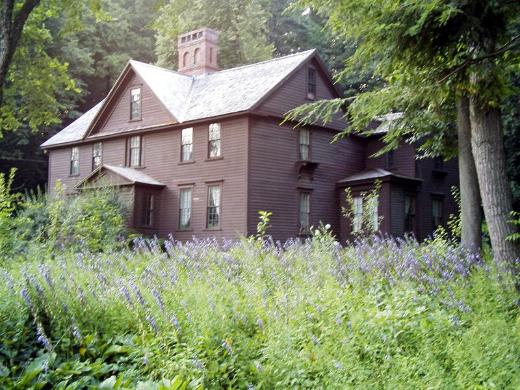
 Summer, 2011.
I hope these roses fill in quickly so it will look as pretty this summer!

Do you think a trellis could be attached to vinyl siding?
Hi Ann, our trellis was attached to the vinyl siding of our home, so yes. Just make sure you use spacers to keep up air flow.
Hello! I wanted to check and see if you have grown the climbing rose “Alchemyst”? Could you share what your experience has been with that rose if you have some time – no rush! Thanks! Super excited to see your new blog layout and look forward to upcoming posts.
Hi Cole! Thank you for all your encouragement! 😀
Nope, I’ve never grown Alchemist (am I spelling that correctly?) but it is on my really long wishlist. You might like to check out Claus Dalby’s posts about it HERE (hit the translate button at the top of the screen) HERE and HERE. And have you seen this post in the Rose Forums? Actually, there are a ton of forums on it if you do a search. It’s a very popular rose, and with good reason it seems! 🙂
Great – thanks so much for the info! If you ever give it a shot, I’d be interested to hear how it goes. I will look up the information you mentioned as well. Thanks!