Constructing a Cedar Rose Support
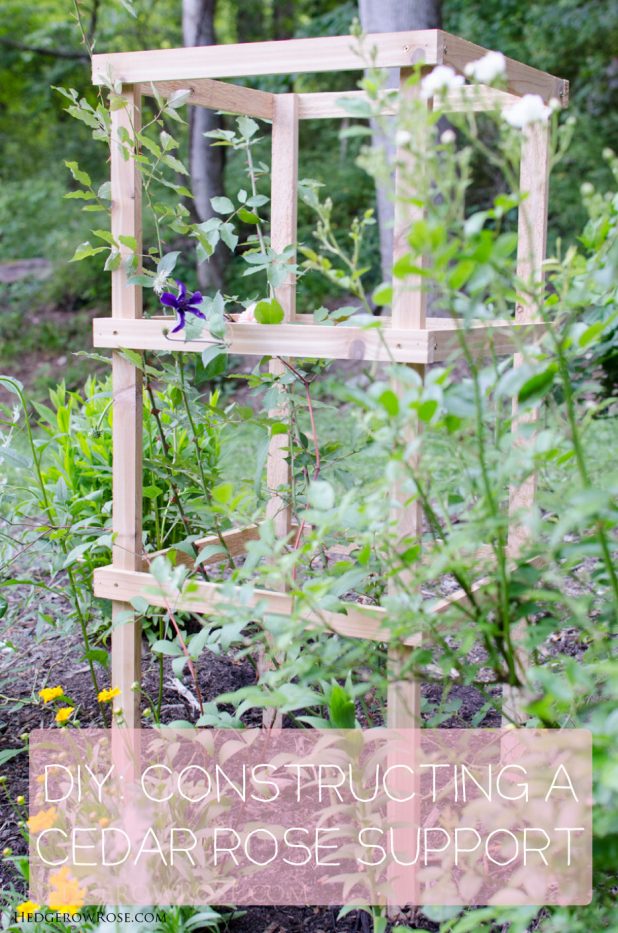
As requested, here are those instructions for constructing a very simple cedar rose support. The idea for this came about for me when I was finding myself frustrated seeing the roses with the longer, lax canes flattened on the ground after a hard rain. This season I am all about giving my plants proper supports as I think it makes all the difference. Jesse was kind enough to take my idea and make it look exactly like what I imagined! He says it’s very simple to construct and the cost of the wood per support is about $20. (We picked ours up from our local Home Depot.) I’m using cedar so it can simply weather naturally in the garden. Most of it will be hidden by the foliage as the rose matures. These supports lend themselves well to roses that are described as having a lax, arching habit, and even those David Austin roses we love so much that get the long octopus canes. Here we go!
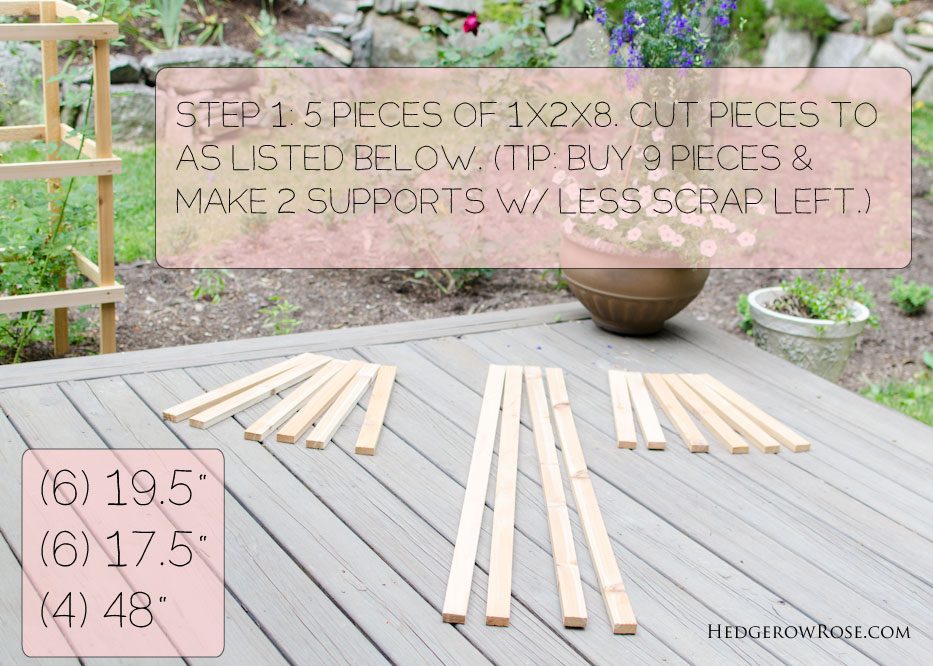
I guess it goes without saying that you could make your support taller and wider if you’d like! You could also cut the ends of the 48″ pieces into a point shape if you think it would help you drive the support into the ground. (I’ll talk about how we install ours at the end.) {EDIT: Just realized that slide above should say “Cut pieces to size as listed below.”}
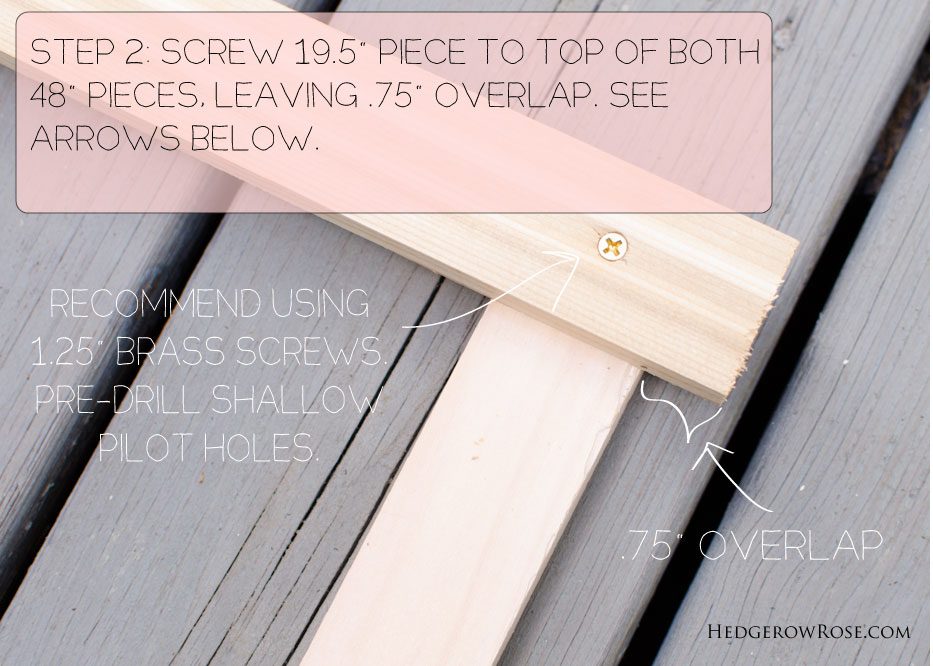
I like brass screws because brass, being an alloy of copper and zinc, will weather nicely with the cedar, but you could use some other kind of exterior screw if that’s what you have on hand.
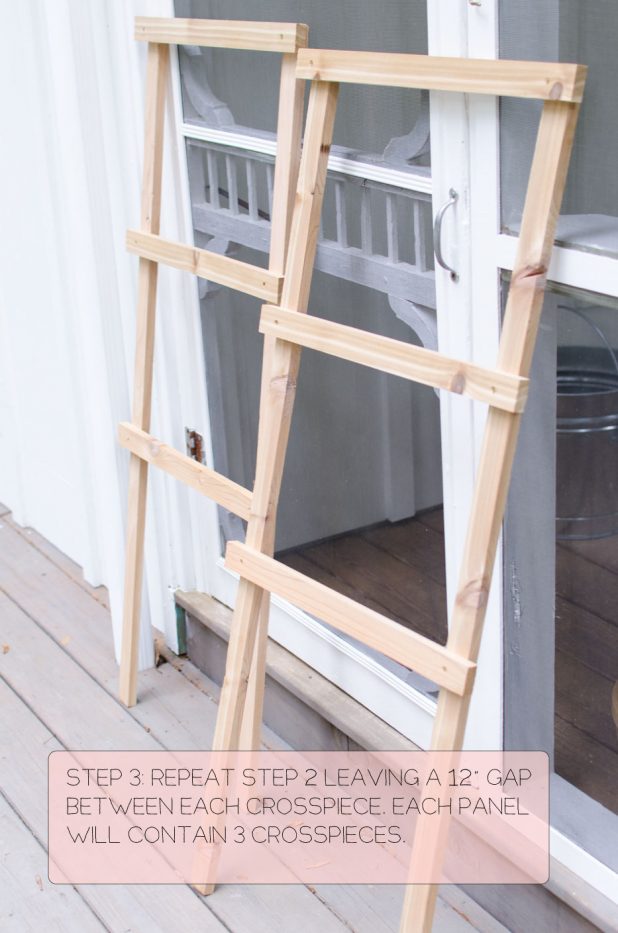
Again, if you choose to make yours taller, you will have more crosspieces.
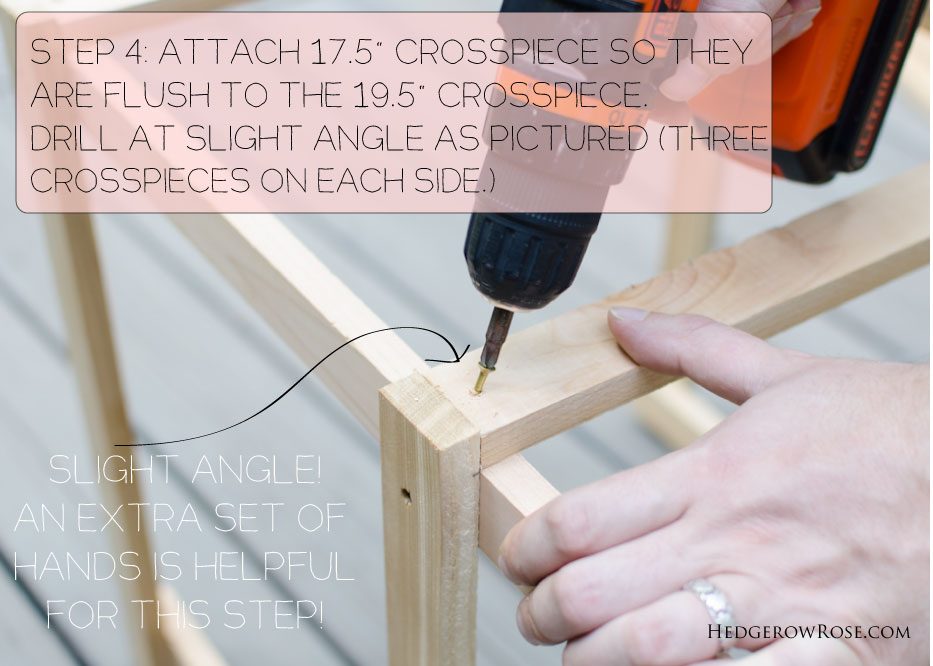
Driving screw in at an angle will secure 3 pieces together at once lending more stability.
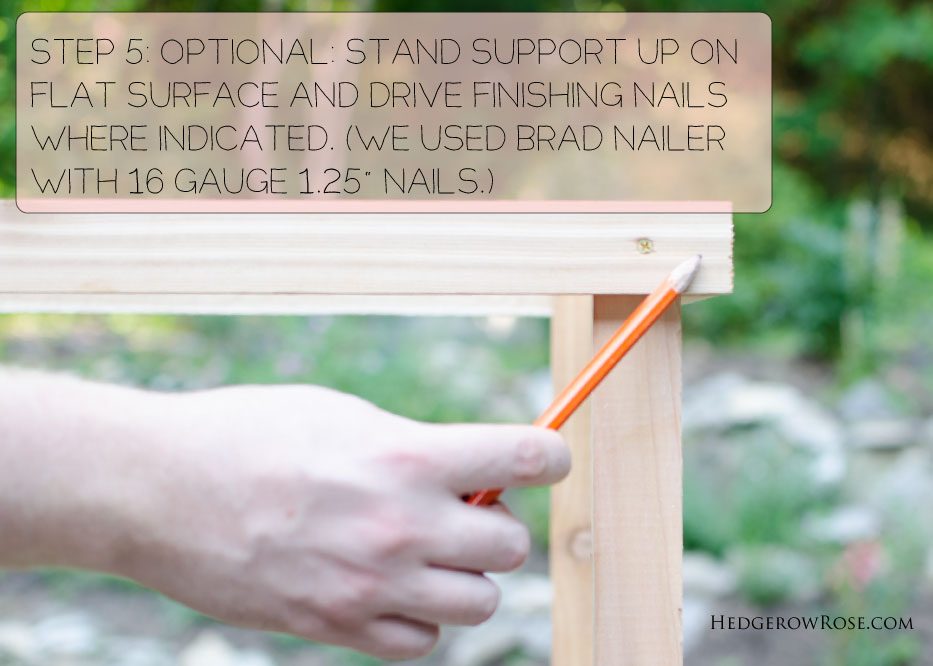
Jesse said that driving in some nails (they’re practically invisible when they’re in) helps keep the pieces from shifting around. I think that he just wanted an excuse to use his new nail gun. Sorry, Jesse, your secret is out!
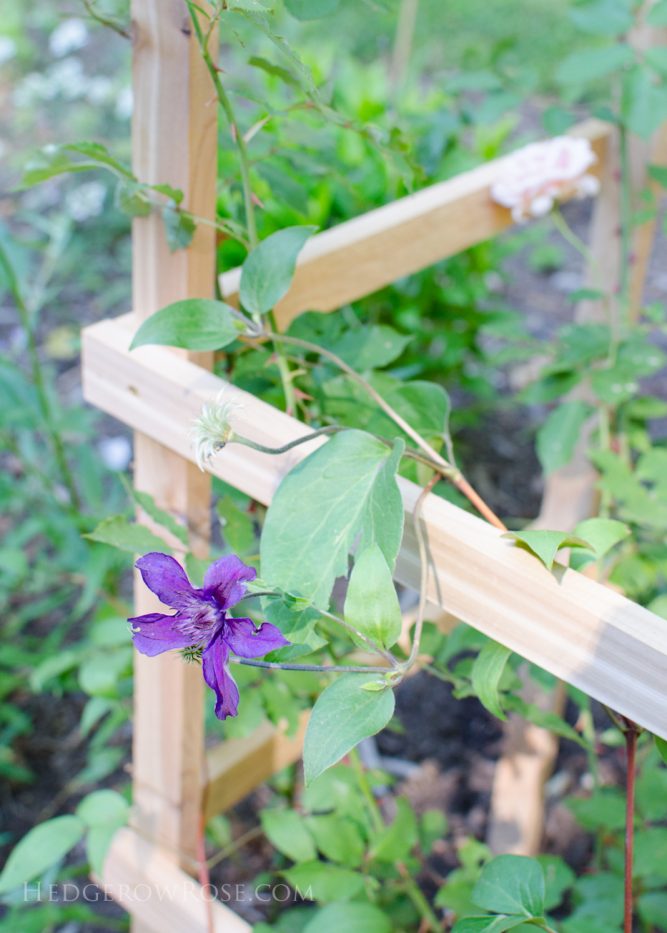
OK, so let’s talk installation of these bad boys. First of all, if you’re thinking about adding these, do it now before your rose gets too big. Because oh my stars, what an odyssey it is to try and put this in the ground when there are thorny rose canes flying every which way. We put this one in last night around ‘Elie Beauvillain’ and I definitely broke a few canes trying to maneuver them through the crosspieces. All this whilst under siege from mosquitos so I was about to lose my marbles. We have found that the best way to drive in the posts is to first dig the holes out with either a post hole digger and/or hori hori knife. That’s because our soil is still pretty much terrible. But, if your soil is soft you might be able to just push it in. (We sunk the posts about 6″-8″ but if you live where winters are super cold you might go further in case of frost heaves.) So that’s it! Have fun!





Awesome! Thanks for sharing and I’m sure my sweetie thanks you as well, when I get home tonight and inform him we are going to Lowes to get stuff and then doing a project tonight.
Haha! Whoops! Hope it went well!
Thanks Laurie and Jesse – these are wonderful and great instructions!
Hooray!
I would love some info on your talk you are giving in Asheville in july. Love the supports!
Great! Ok, so at our next Asheville Blue Ridge Rose Society meeting, held on July 10 at 3pm in the Red Cross Building in Asheville, there will first be a guest speaker from Master Gardener’s Assoc. Following that will be a short business meeting, and following that, I will be giving a short tutorial on propagating roses from cuttings. You are most welcome to attend any and all of these events. I will post a reminder in July as we get closer.
I totally need to build one of these for the climbing rose I put in this year. I created a makeshift temporary support for it with bamboo poles (very chic, I know). I think I’ll wait till next spring to put in a more permanent support. That way I can prune and train the rose with the support instead of trying to fight it. Thanks so much for the inspiration!
Happy that you like it! Let me know how it works out for you.