Growing: “Blue Point” Zinnias (and a tip for a quick and easy Zinnia border)
Hello everyone, I hope you had a nice weekend, and if you’re on the east coast, enjoyed the brief warm-up. As if to remind us it’s still February, this morning the thermometer took another plunge into arctic-like temps and the wind is fiercely blowing. I can’t think of a better time to imagine the sizzling warmth of summer and talk about those heat-loving annuals, Zinnias, can you?
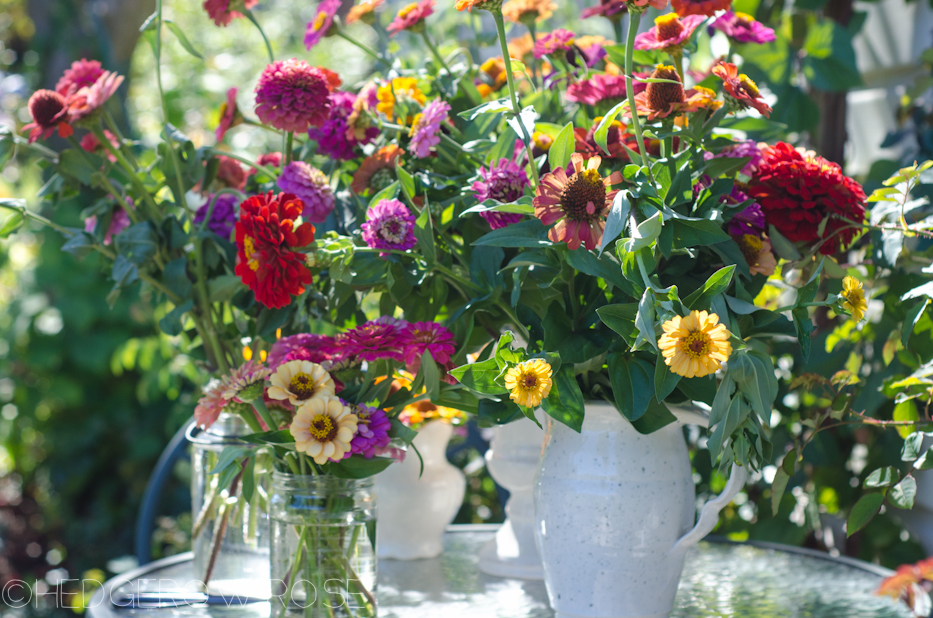
I’ve written about Zinnias before, and if you follow this blog you’ve probably noticed them in the background of many of my photos. Like so many of you, they’re one of my favorite summer annuals. Every garden should have them as they offer such effortless pops of color…
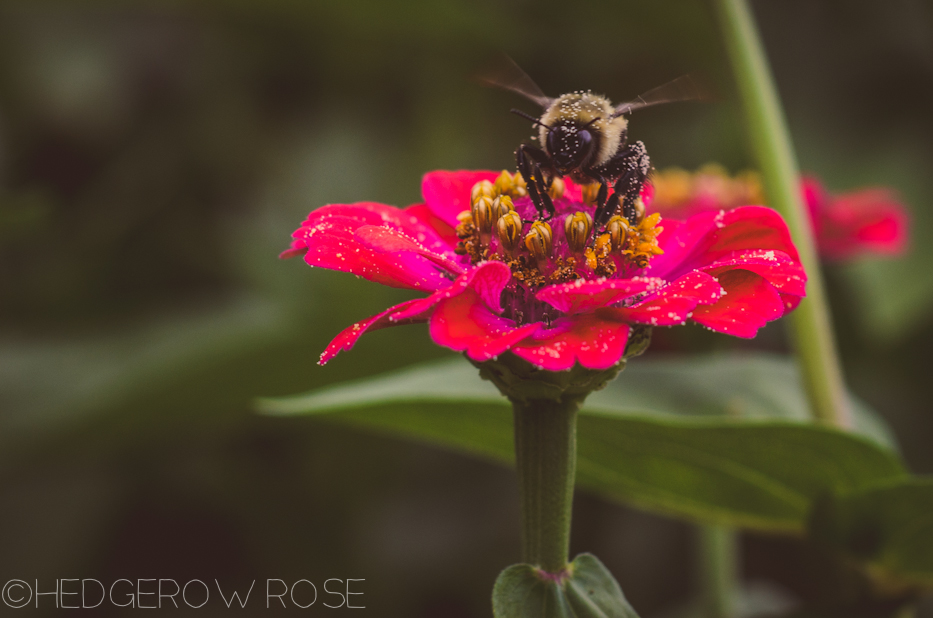
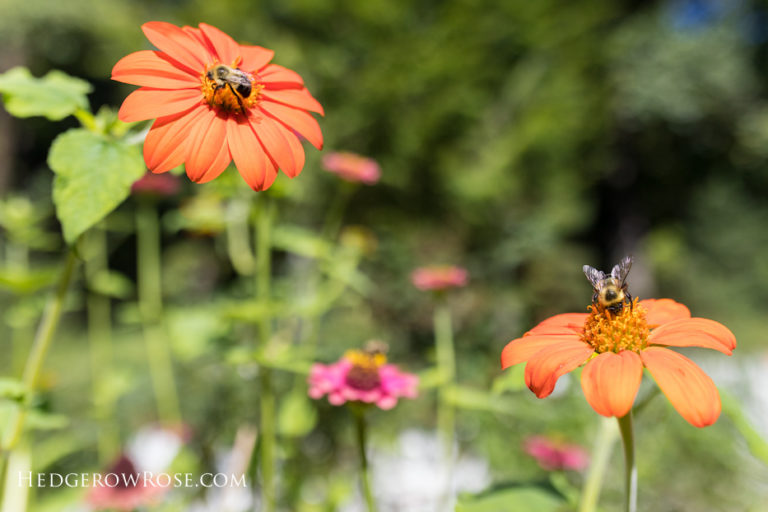
…not to mention the bees, butterflies and hummingbirds go bananas over them.
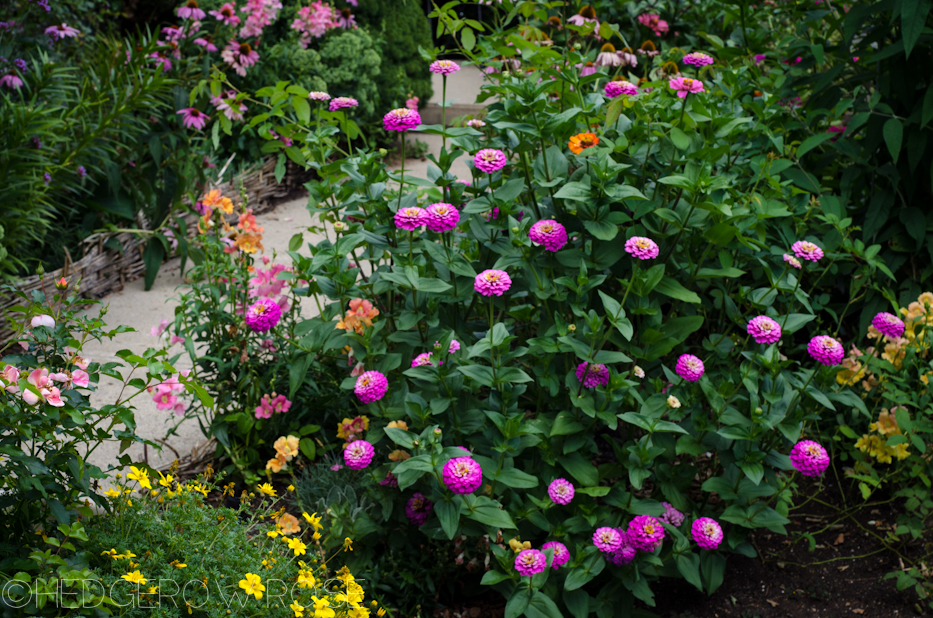
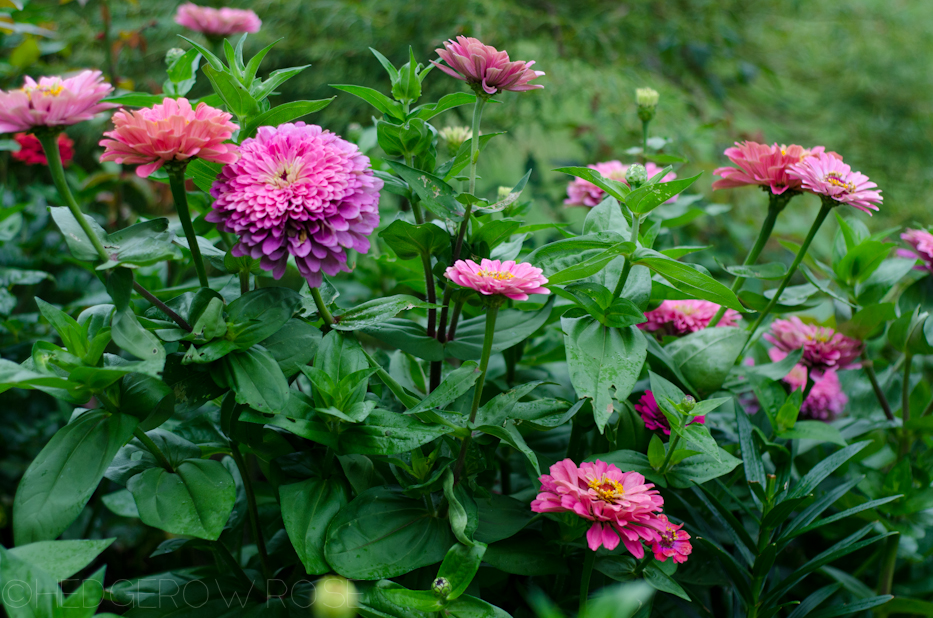
Each spring, I like to try a new collection of seeds and start them in our little greenhouse. Besides getting a jump on the season, starting from seed allows me to place them out exactly where I want them to grow–filling in the gaps of our garden.
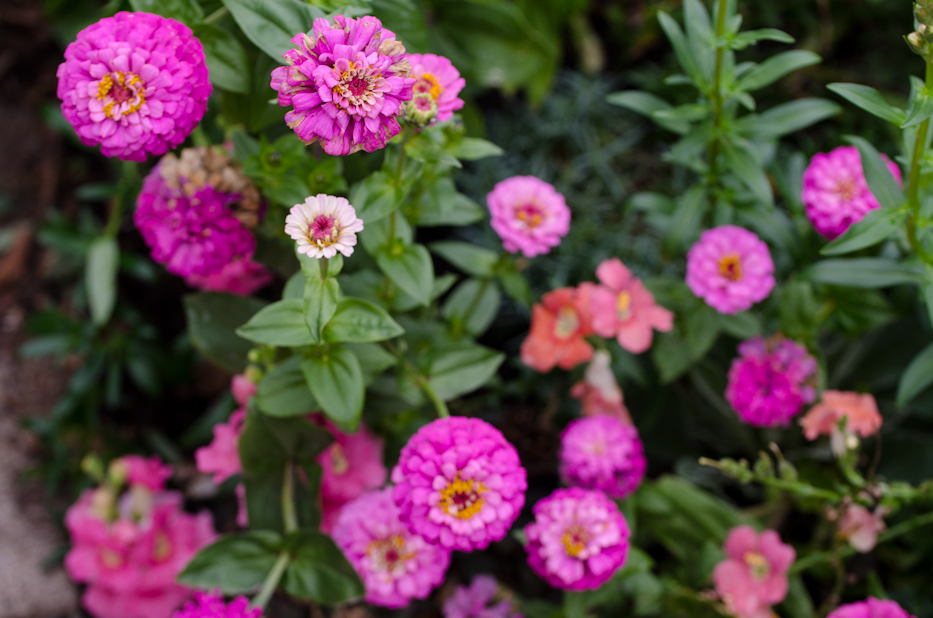
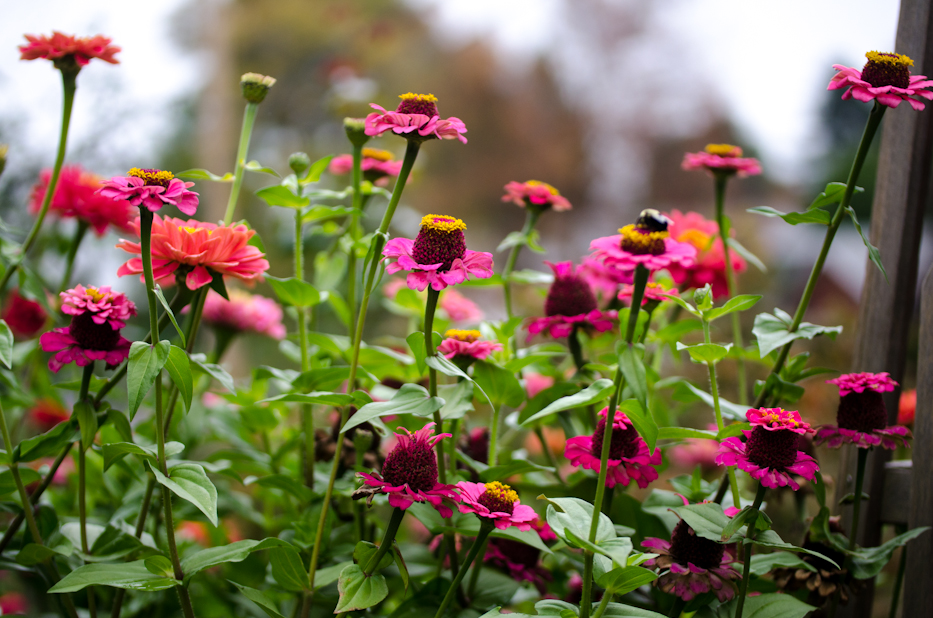
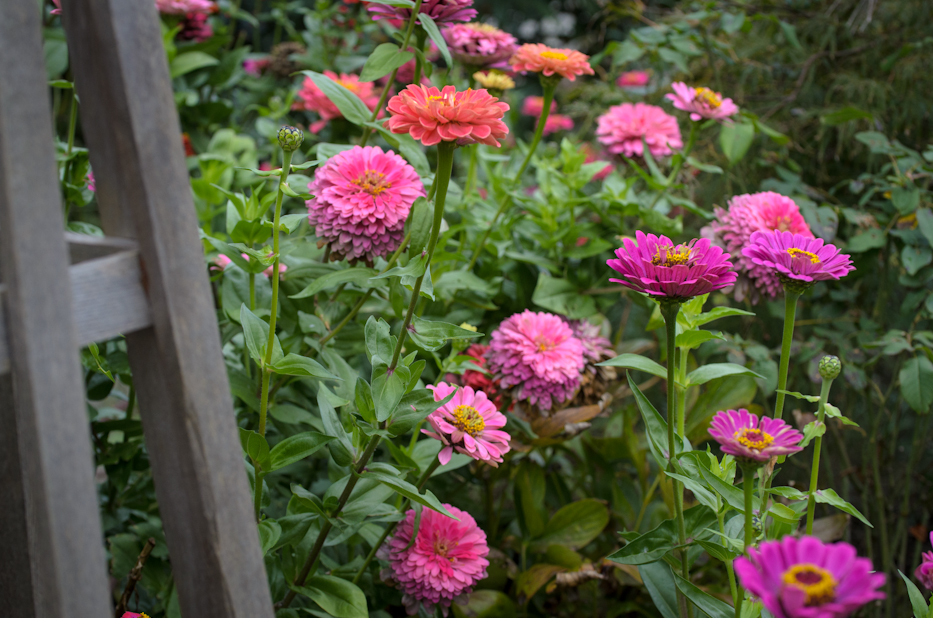

Last summer I experimented with the “Blue Point” florist blend of from Renee’s Garden and whoa, Nelly, they were huge. They kind of took over that section of the garden to the point of embarrassment when delivery people tried to walk by to get to our doorstep. Jesse casually remarked one day that maybe I shouldn’t plant Zinnias in the front garden again. Since he doesn’t usually offer suggestions or advice about the garden, they must have seemed very out of control!
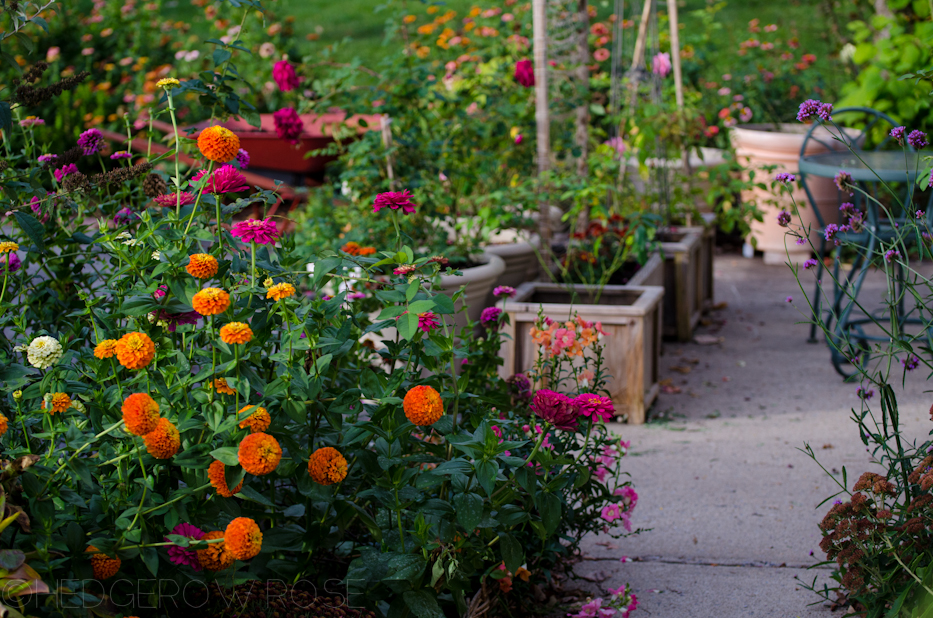
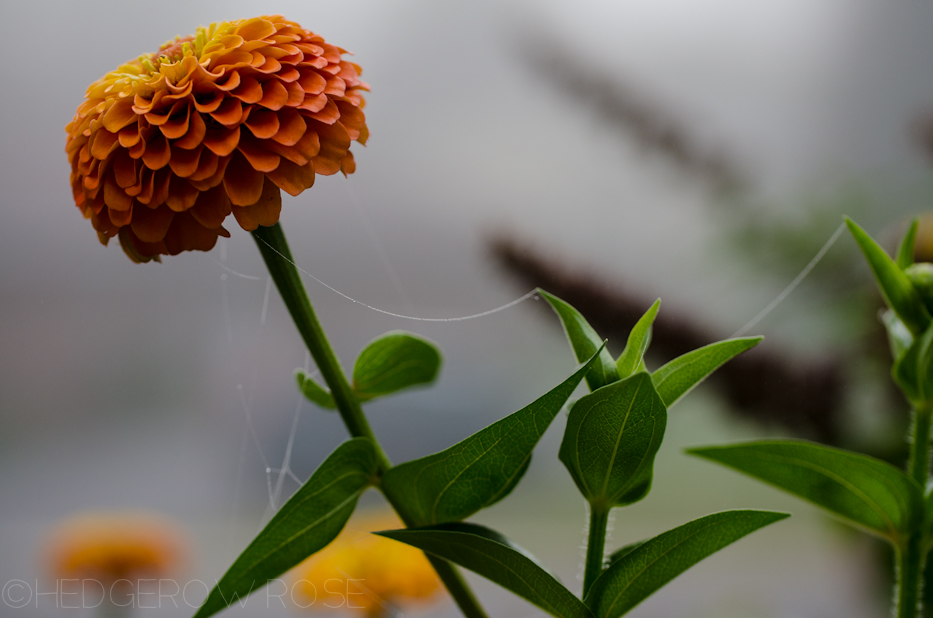
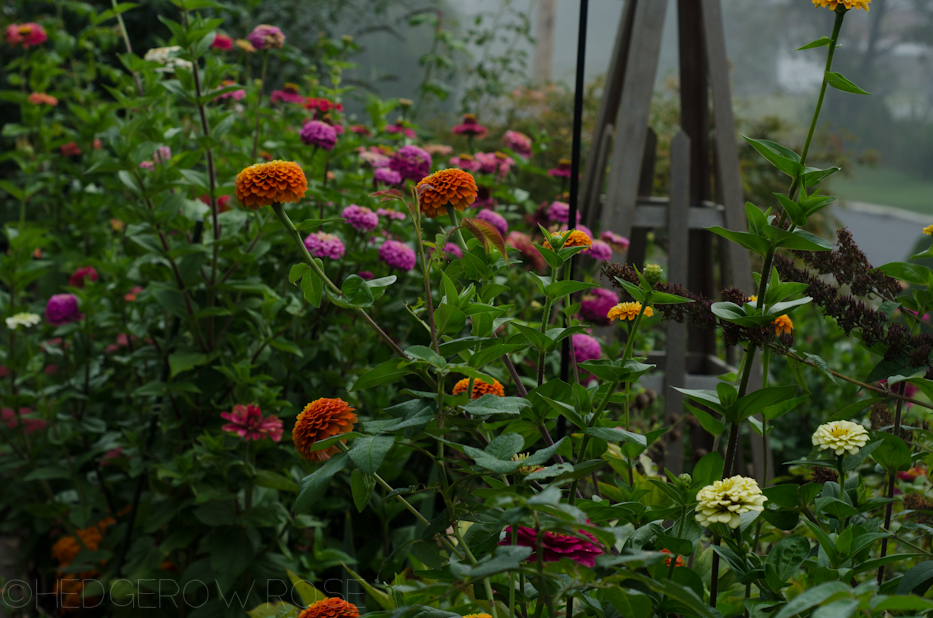
I admit, they did start to look a bit raggedy towards the end of summer, but man oh man they bloomed their little heads off all the way into November. {EDIT: I just realized I use a variation of the phrase “bloomed their heads off” in so many of my posts. What’s that about? It’s kind of grim! ;)}
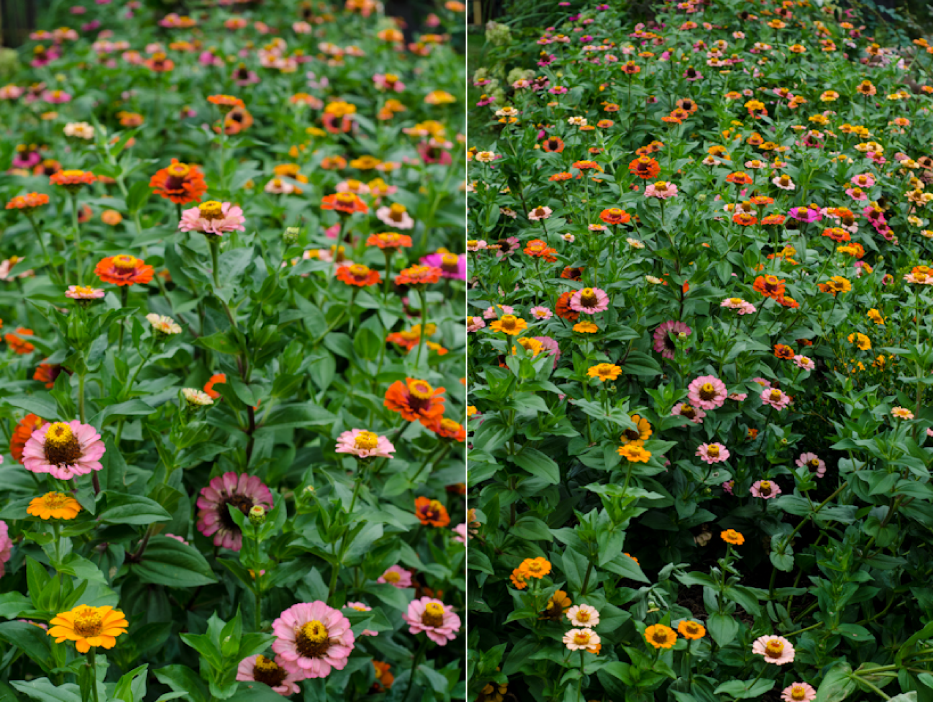
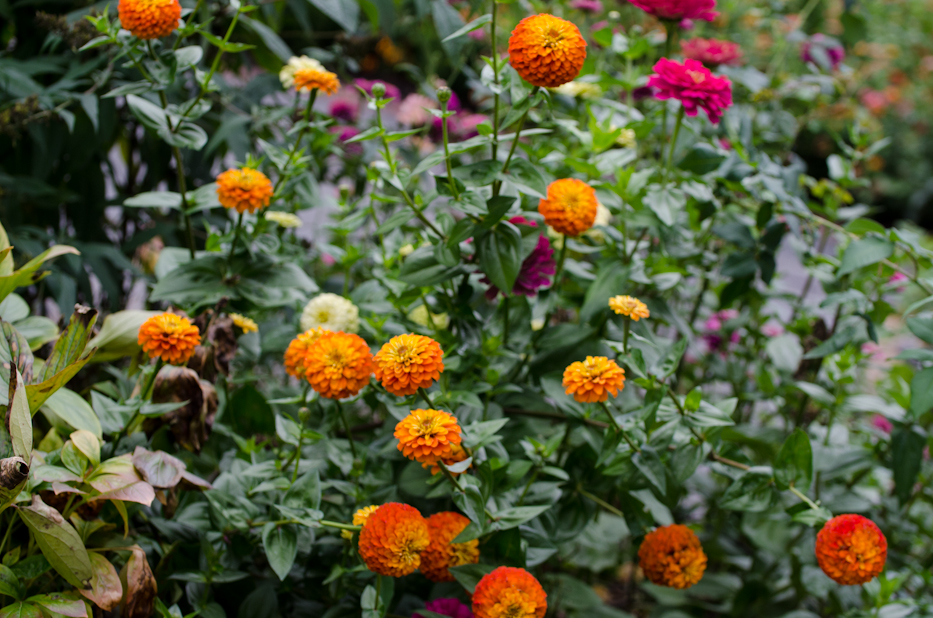
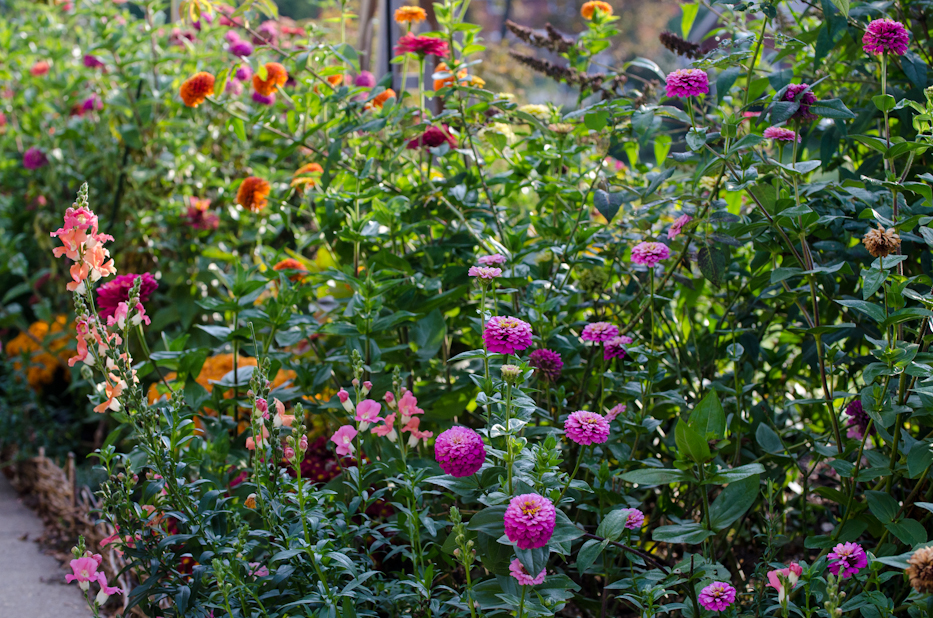
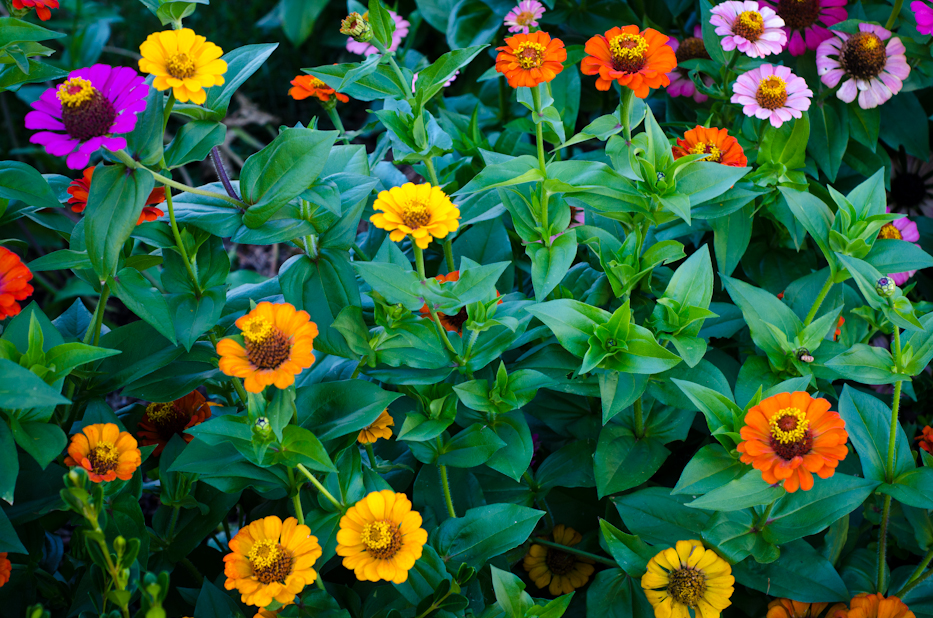
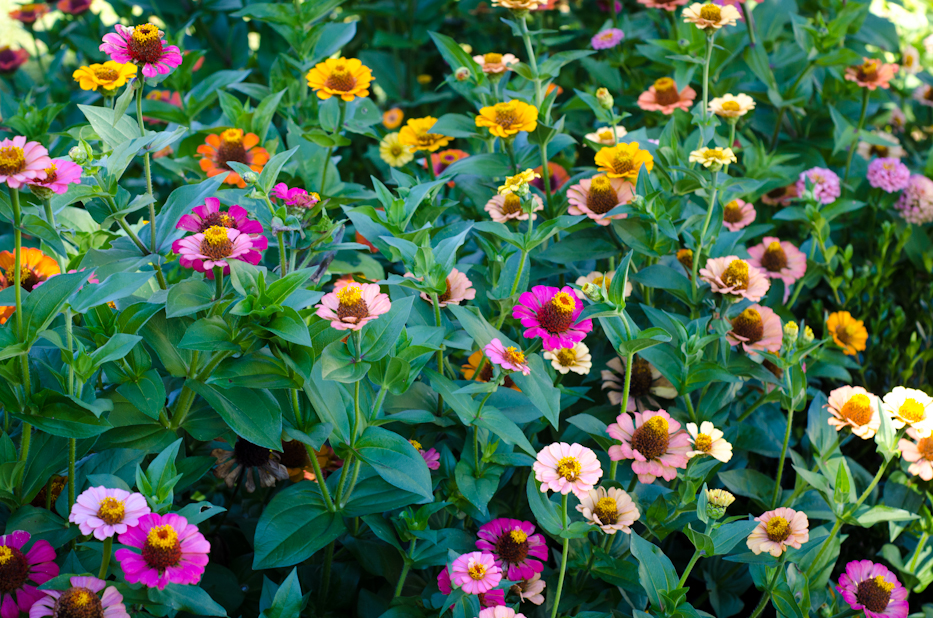
OK, so I’ve just described the “Blue Point” Zinnias I started from seed in the greenhouse in spring. But let’s talk about these other colorful Zinnias seen above and in the photos below. This is a collection from seeds I gathered in our garden the previous seasons. The idea to plant them in one long swath (about 25 feet) happened one day on a whim and the whole bed was prepared and seeded in just a few hours with a little help from Jesse. It’s very easy to do–in fact this method is one we use to start all of our new beds. All you need is cardboard (with the labels/tape removed), a hose, and lots of soil/compost. First, lay the cardboard down–and yes it goes right on top of the grass–and then water it down with the hose so the cardboard is soggy and doesn’t blow away. Next, pile up your soil/compost (I like to use a blend of topsoil and compost which I have delivered in spring) on top of the cardboard. I typically pile up about 8″+ of compost, keeping in mind it does settle and become more compact. It’s best to work in sections and if you have a helper it will go a lot quicker! The following spring I use an edger on the new beds to give them a crisp border. (If you want a crisp edge at the same time you create your bed, then edge out the outline first, removing the grass, and fill in center with the cardboard. Hope that makes sense.) Tips: one single layer of cardboard will be all you need, but don’t skimp on the layer of compost. It should be as deep as you can make it–like a raised bed. My 8″+ is a guesstimate. Use your best judgement. Overlap edges of cardboard so no grass can sneak through. Newspaper will also work in place of cardboard but use several sheets at a time so it’s a thicker layer. I like to rake my compost so it’s higher in the center of the bed like a little hill. It will eventually settle. Every year, top off bed with more compost.
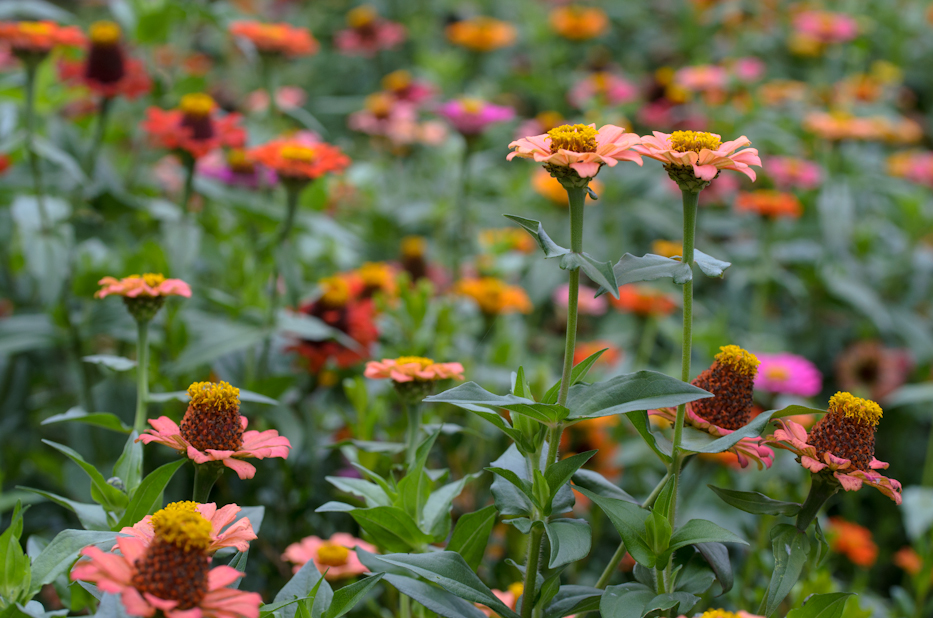
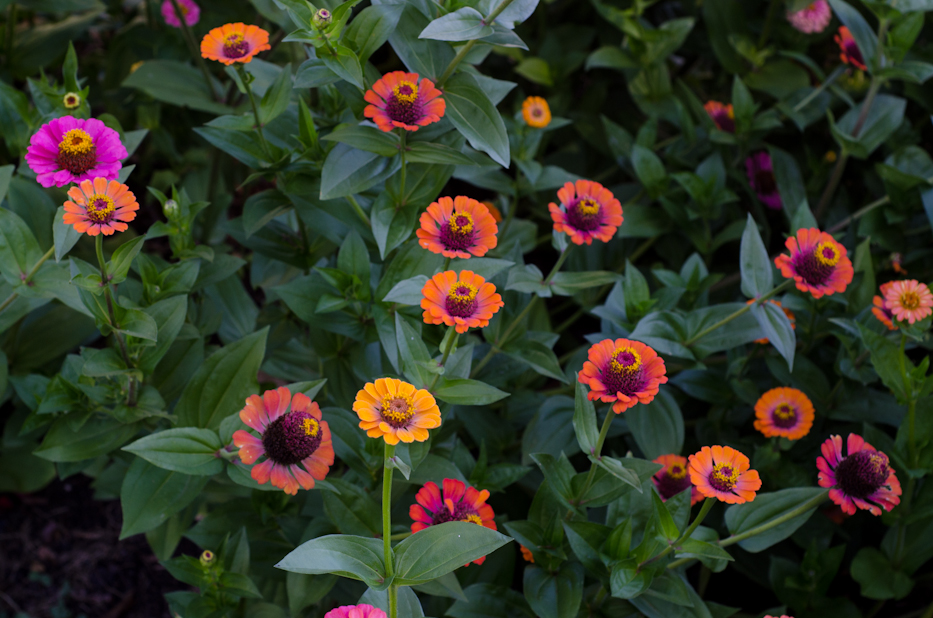
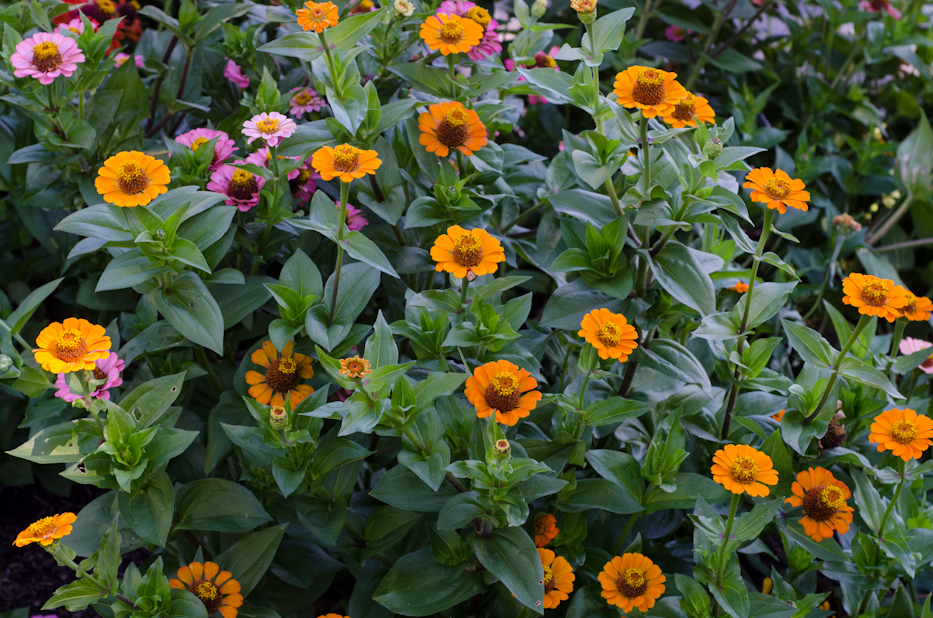
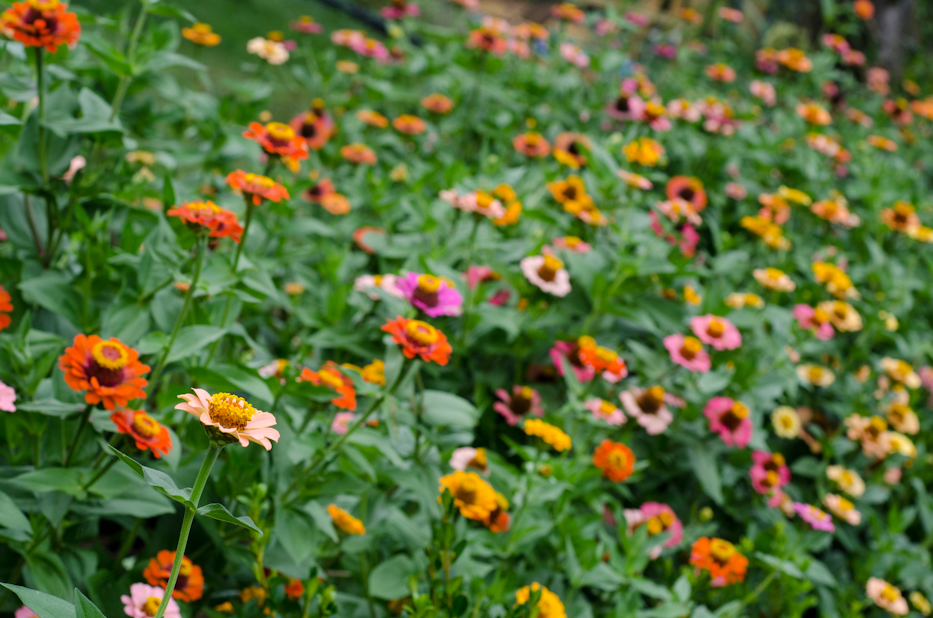
Once the new Zinnia bed was created, I broadcast-sowed my collected seeds. In this case, I didn’t worry so much where they landed as the entire bed was going to be Zinnias, but I did spread them out if they clumped up too much in one area. I covered up the seeds with a light layer of soil and kept that bed moist until they got established. I found that although they were a couple weeks “behind” the others by not being started in the greenhouse first, the summer heat caught them up quickly. And didn’t they look pretty? The best part is now I have a prepared bed rarin’ to go for the row of Sweet Peas I plan to grow there this spring!
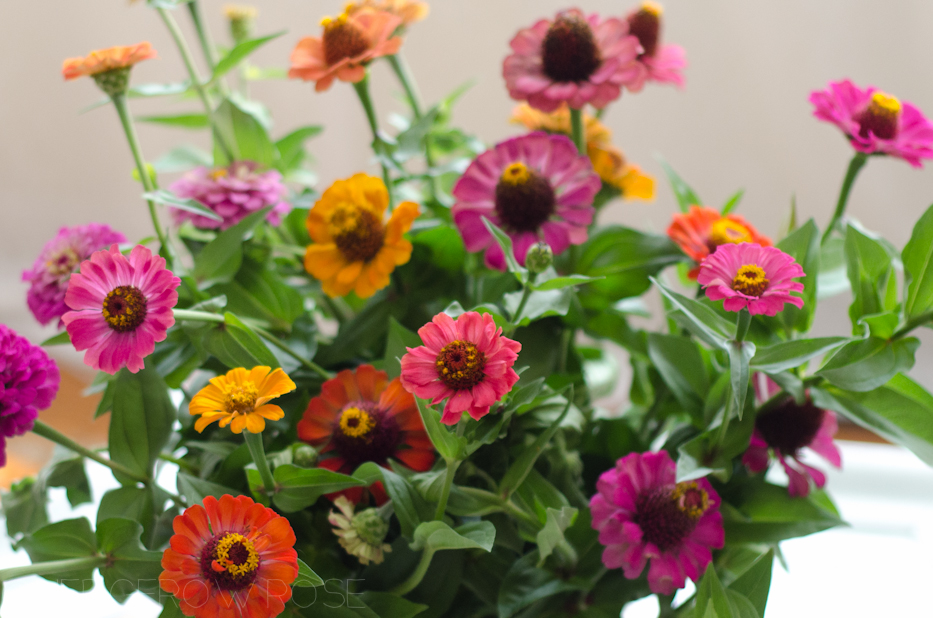
{Another EDIT: The bed that I sowed the seeds directly did require some thinning out as the plants grew. They weren’t discarded but were transplanted into the gaps in the border. Also, Zinnias like a good pinching out as they grow to encourage branching. Our pinching was kindly done for me by one of our resident bunny rabbits who used our Zinnia bed as a buffet one morning and nibbled all the tops off the seedlings!}

Wow, your Zinna’s look stunning!!! Like you, I love them as well, but last year they did not do well. I will see if I can find some seeds of the variety you mention. Thank you for sharing your tips with us!
Madelief x
My pleasure! I hope you have better luck this year!
My hubby brought home a bunch of old seeds (10+ yyears old) and I’m going to try to see if they will grow. Most are still in the packaging they were bought in.. But I found some zinnas in there so I am so excited to experiment B-) since we are state neighbors (you are in PA aren’t you) I’m in Ohio when do you think a good time to indoor sow with winter still in full force?
I know your not an expert but you do have a good amount of gardening knowledge
I just dug out my seed packets from last season and saw that I sowed my zinnias in my greenhouse on 4/15. I hope that helps!
Yes that does thank you
This is so lovely! Zinnias are one of the few flowers I managed to grow from seed last summer, but mine were quite spindly–nothing like this!
Can one make a bed like this in the spring and plant in it right away, or must it be done in the fall? This post makes it sound as if spring works, which is great news to me–I had thought you could do this in the fall only, to give the cardboard time to break down a bit and the soil time to settle.
Many thanks for this post!
Hi Robin, thank you for your visit!
If you’re planning on planting shrubs in a bed like this I would definitely make it the autumn prior and plant in the following spring. We have a different bed we created with this method and at first planted sunflowers and then the following year, when the cardboard had time to break down, planted roses and topped off with more compost. This particular zinnia bed was created the same day it was seeded–one sunny June day. If you pile the compost/soil high enough it acts sort of like a raised bed and allows room for root growth. The cardboard will break down over the summer but yes it does take about a year for it to break down completely (which is why I wait to do the edging the following year.) Hope this helps!
Thanks so much!