Our raised beds experiments…
First, I wanted to thank all of you for your really encouraging comments and emails. Truth be told, I have shed some tears over the idea of leaving our home in State College since this town is very special to me and it took years to finally move back here…and now I’m leaving! But your encouragement really cheered me and I find I am feeling more excited and hopeful, so thank you.
It may be several months before we have found our new home and get settled so as hard as it is to do so, I must not look ahead too much. Instead, I’d like to continue sharing our garden here with perhaps a new slant–what I would or would not do/grow again.
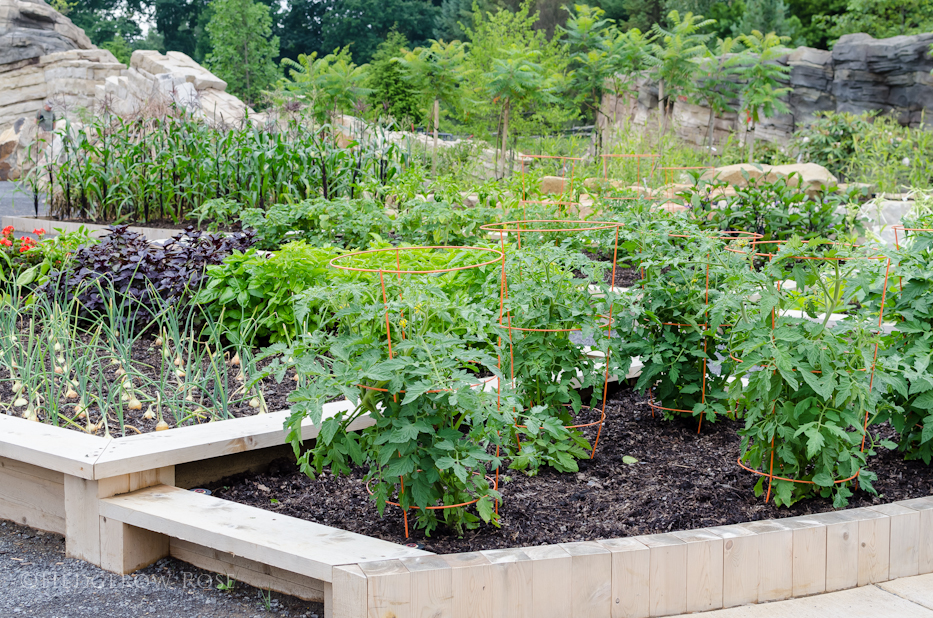
Here’s a project that has saved our bacon quite a few times, and one we’ve already discussed will be first priority in the new garden: building raised beds. They really are an answer to many a garden conundrum. For us, the problem was tree roots and rocks. Pennsylvania grows rocks, we like to say, and if you’ve ever tried to dig a hole here, you’d agree. Our yard is also rimmed by a mature maple and butternut the roots of which hindered digging. Plus, I just like the look of them–even if I did have perfect soil. Of course there are a myriad of other benefits to growing in raised beds which I’m assuming you already know so I won’t bore you with an endless list!
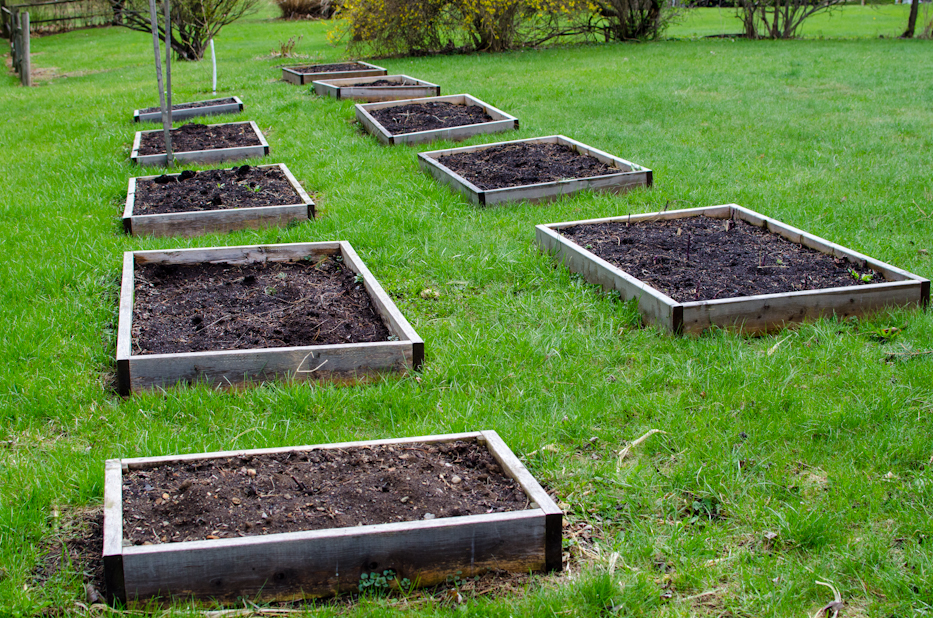
Our first raised beds project was for the veggie garden and it worked out really well in spite of the fact that section of yard was hilly and sloped which caused them to buckle. You can see what I mean in this photo above taken of the veggie garden right after winter. Every spring we would top off with a few more inches of compost before planting out as it settles quite a bit over the year. (Can you see the tips of our asparagus popping up in the far right bed?) I wanted to show this example, with all it’s warts and flaws, to demonstrate how raised beds don’t have to look Pinterest-perfect. I mean let’s face it, most of us don’t have the capital to build something that looks straight out of a magazine, and it isn’t really necessary, anyways.
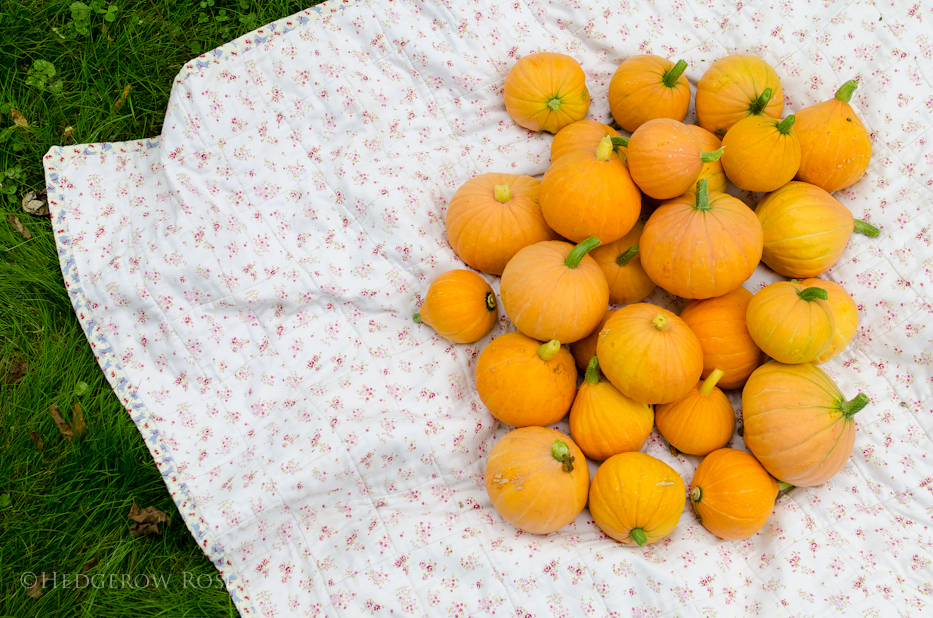
For the last few years we experimented with many different varieties and types of veggies just trying to see what we liked most, and what seemed worth the effort. Some things we thought we’d eat a lot of, but didn’t (like summer squash) and some things were just not worth the bother (like artichokes.)
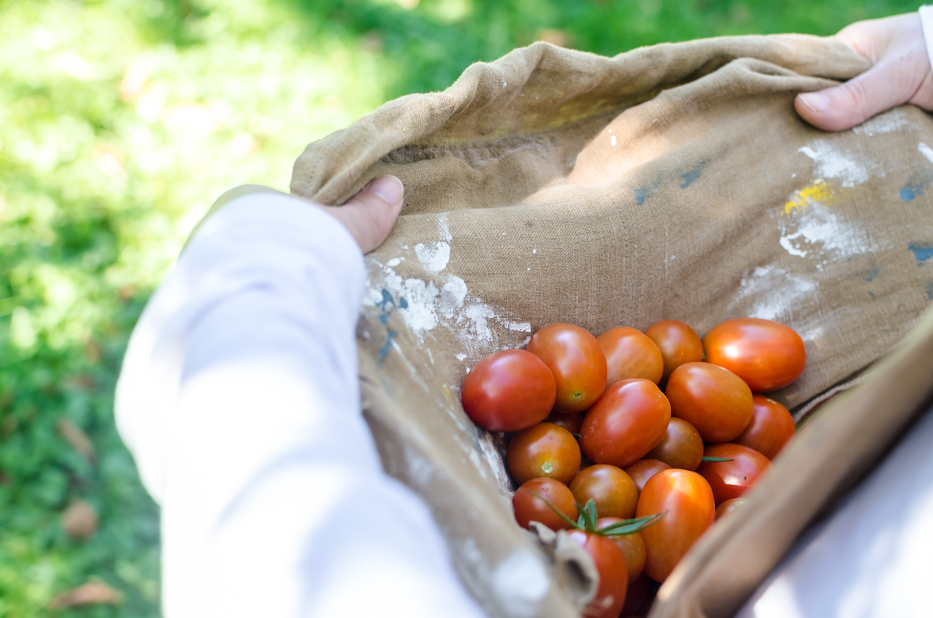
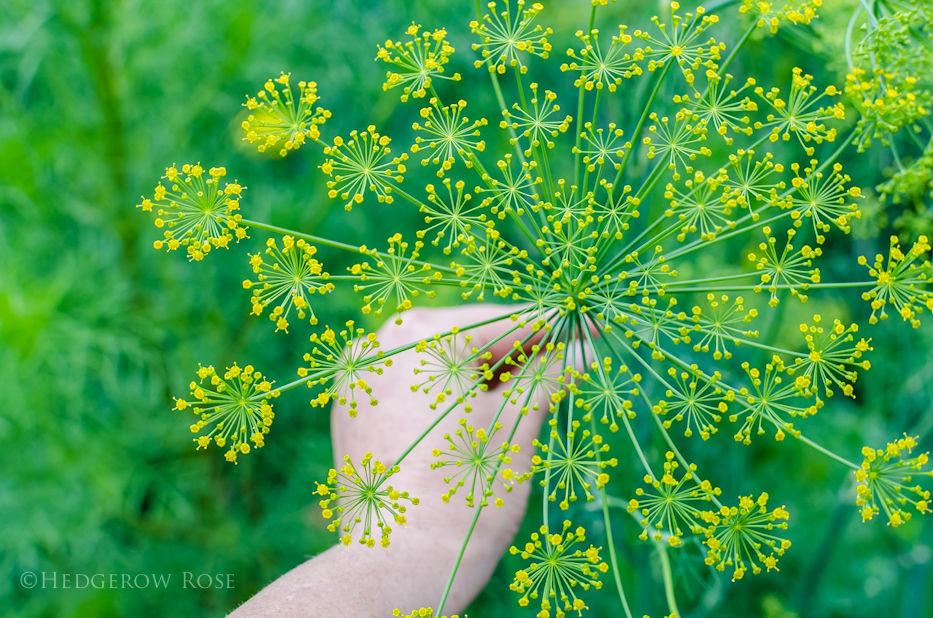
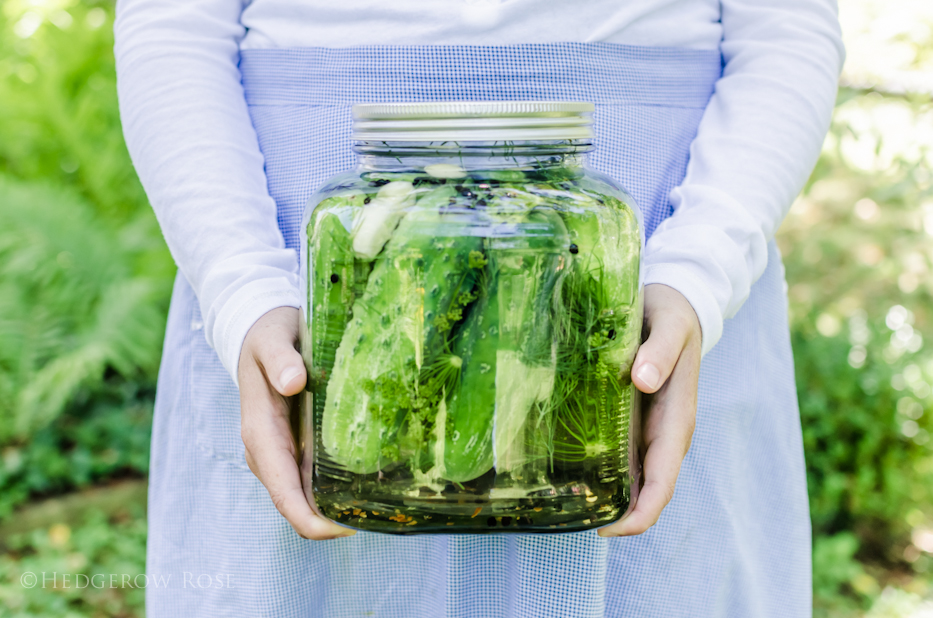
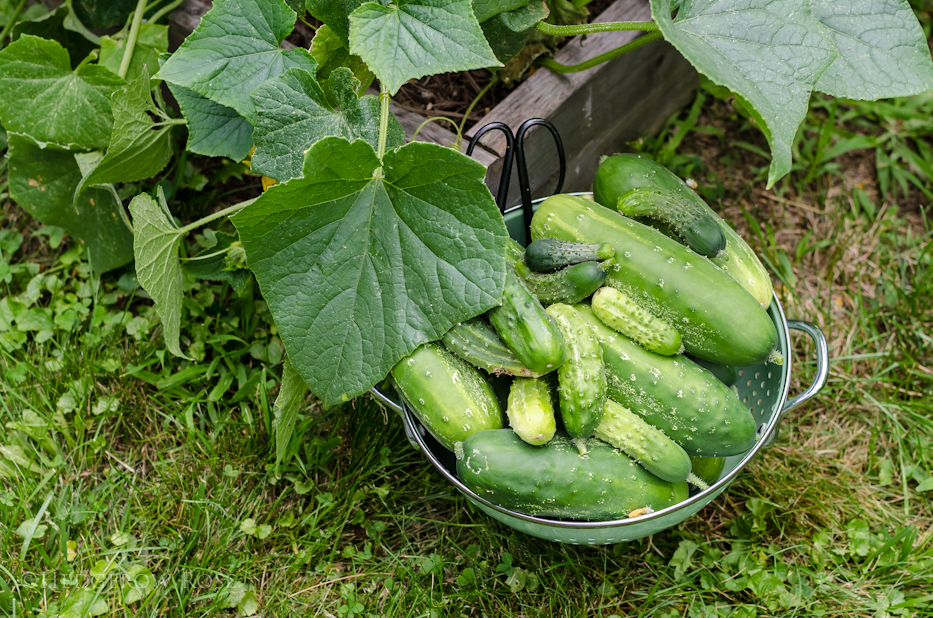
We found that we like to grow tomatoes more than anything else (they are awesome to roast and freeze for winter months) along with cucumbers and dill to make pickles.
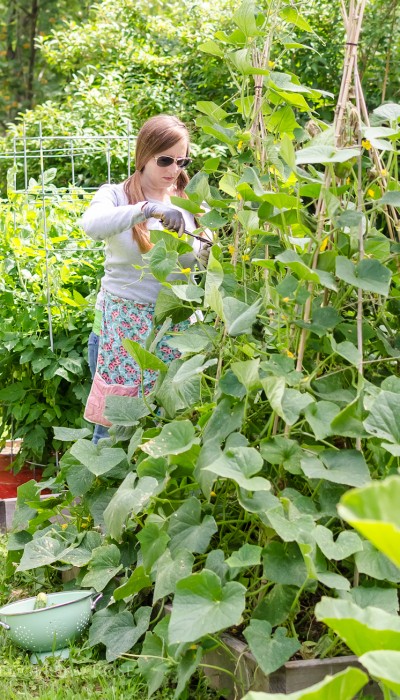 Over the past few years, you name it, we’ve grown it, and although I still like to find room for something new and unique to us, we’ve narrowed down the following list to must haves: tomatoes, peppers, asparagus, garlic, beans, lettuce, peas, onions, herbs, winter squash.
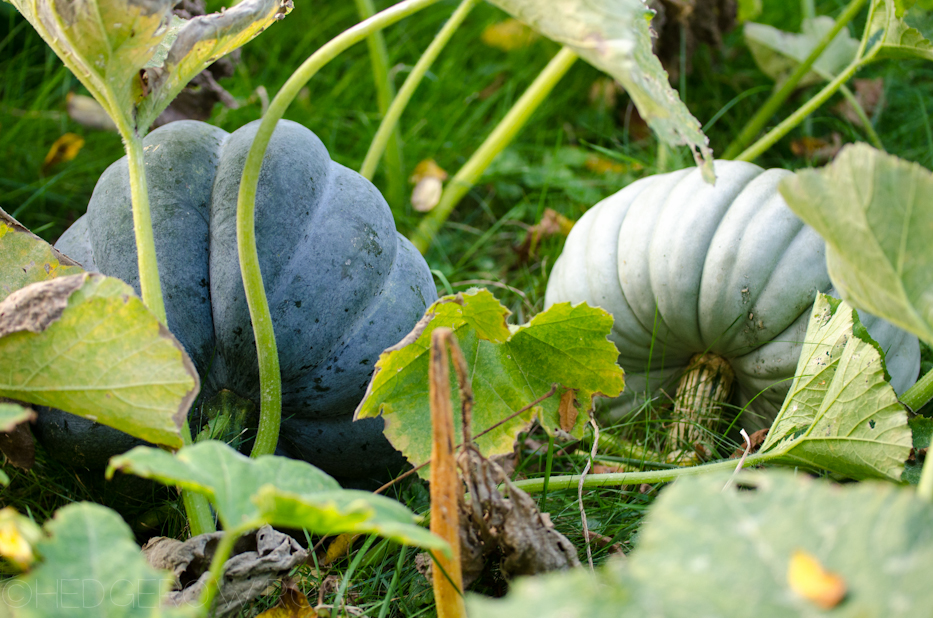
Some of our favorite varieties are: Tomatoes ‘Sweet 100’ and ‘Juliette’, Winter Squash ‘Gold Nugget’, Pole Beans ‘French Gold’, Lettuce ‘Mesclun Mix’, Pumpkins ‘Jarrahdale’ and ‘Musquée de Provence’, Cucumber ‘Homemade Pickles’, Pea ‘Super Sugar Snap’.
We planted a ‘Redhaven’ peach tree, as well, but sadly we will miss enjoying the fruit from that one. We’ve decided that when we set up the new garden, fruiting things and asparagus will go in the first year to give them time to establish and enjoy.
Like the rest of our garden, our veggies are grown strictly organically, no-spray, all that business. This is mainly because it’s the right thing to do, but also because I’m terribly lazy. We believe in healthy soil and beneficials doing the work for us, and if something is just being too persnickety then it’s not grown again. (Tip: grow your own comfrey and make tea for the plants! The tomatoes, peppers and peas loved that stuff and the leaves are great steeped in carrier oil for salves. Whoops, I’m getting off track.)
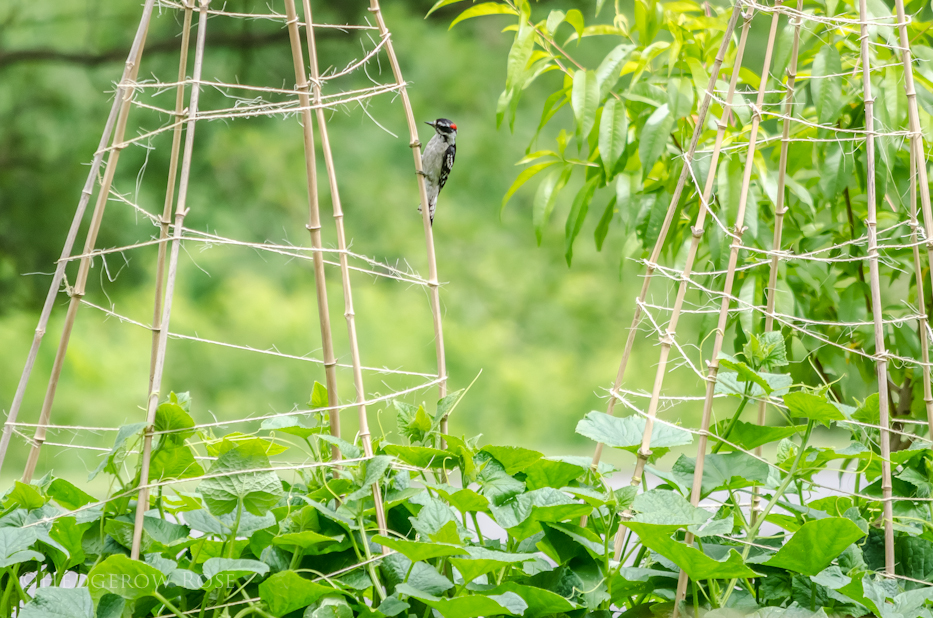
Last winter, I got a bee in my bonnet to make more raised beds into a formal cutting garden. I had no idea we would be moving the following year or I never would have started it! As it is, we’ll be leaving it incomplete which is a super bummer because it was going to be awesome. *sigh*
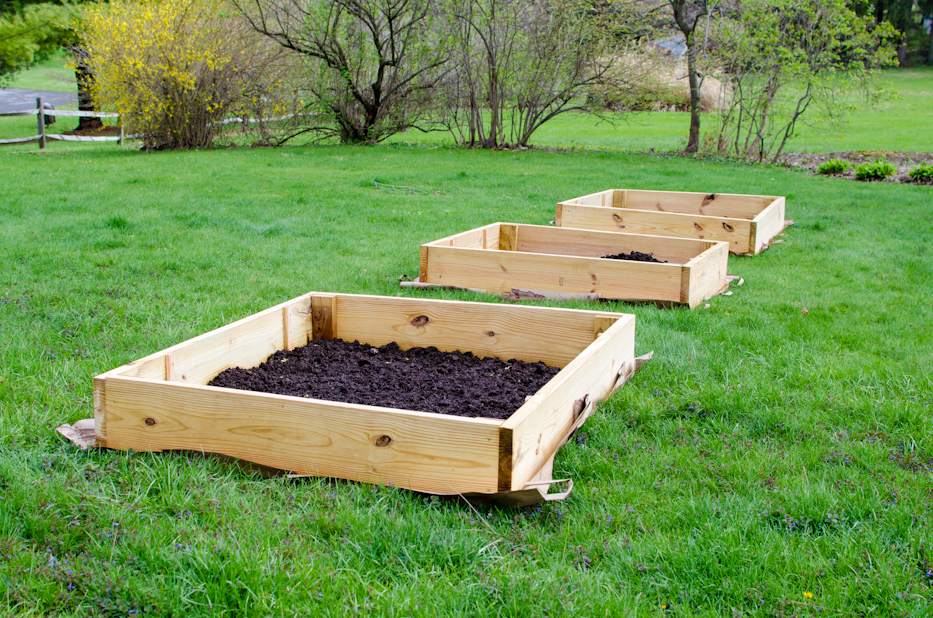
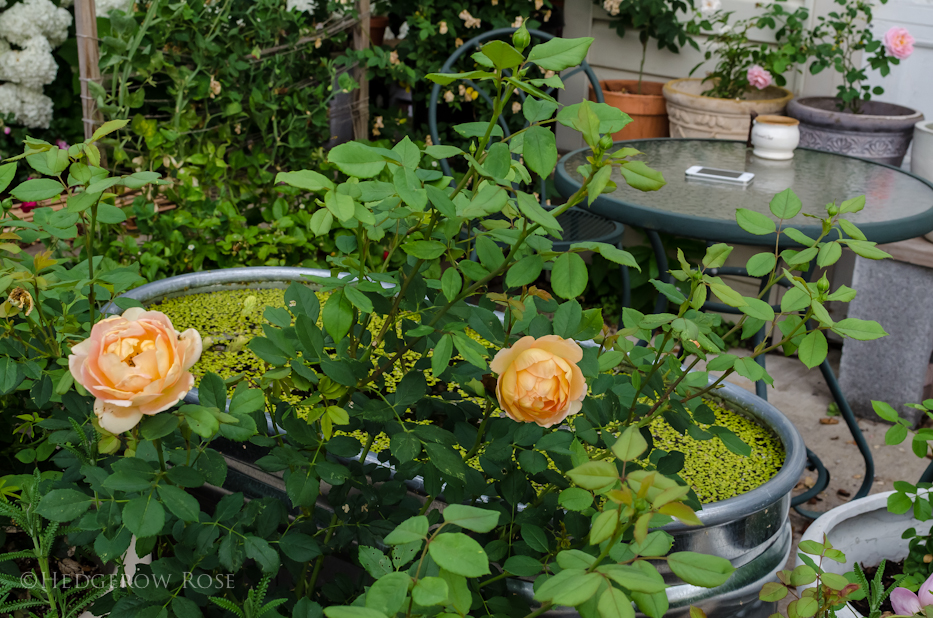
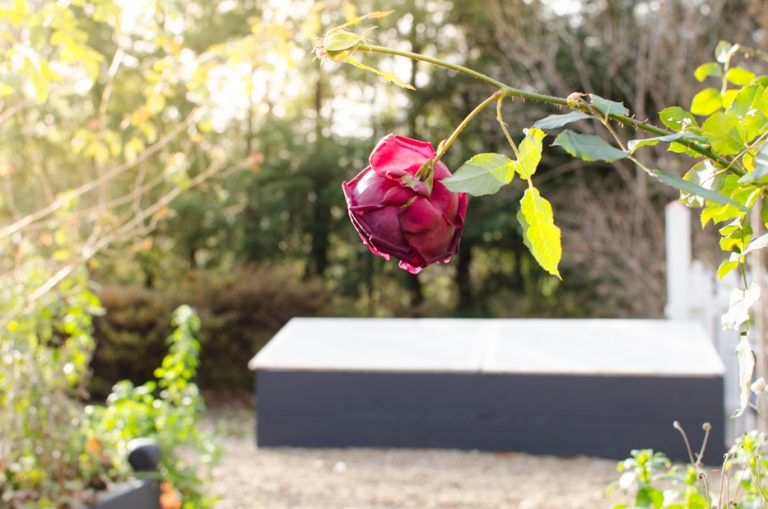
For this garden, Jesse used wider boards to give each bed more depth and I put some roses in along with a variety of annuals. This part of the garden, even in it’s half-finished state, was my favorite place to buzz about last summer.
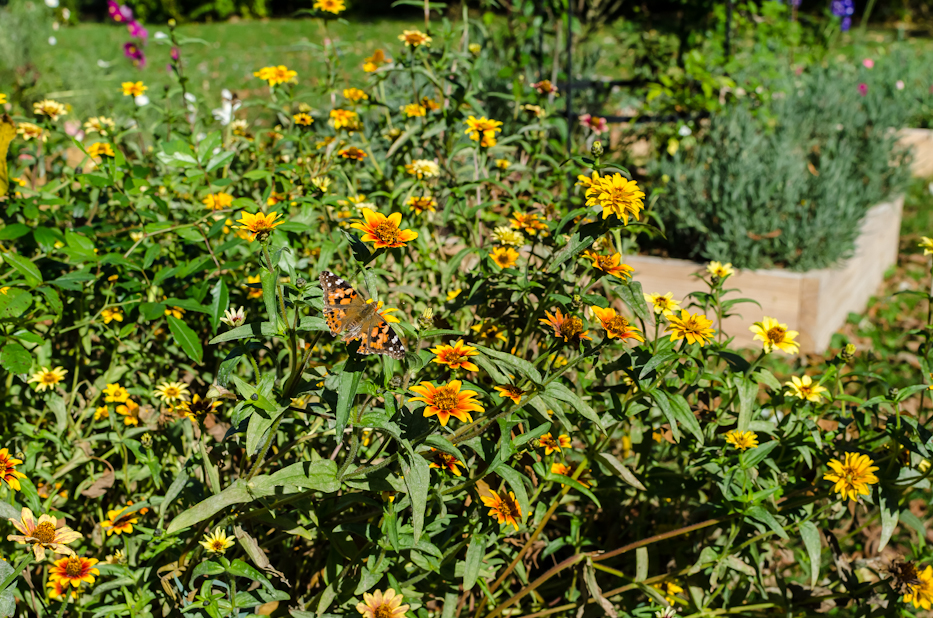
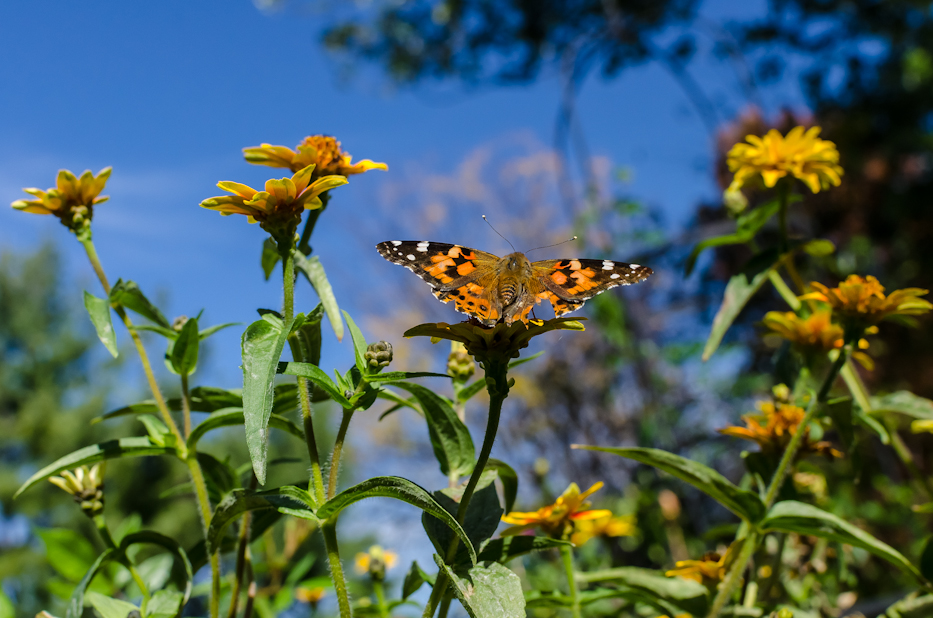
Instead of just being a plain yard, it was feeling, finally, like a garden back there. It was a constant center of activity for birds and pollinators…and me!
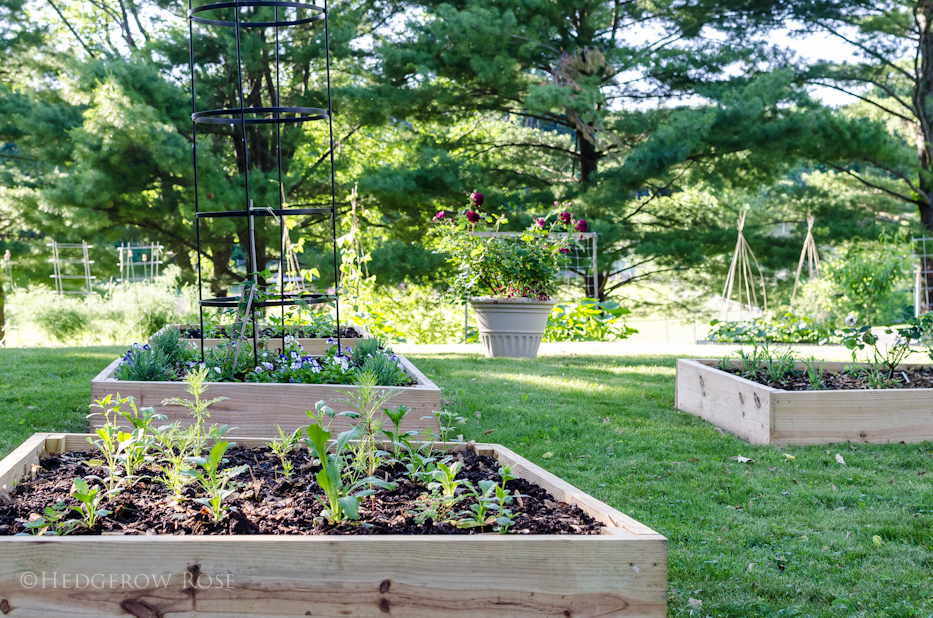
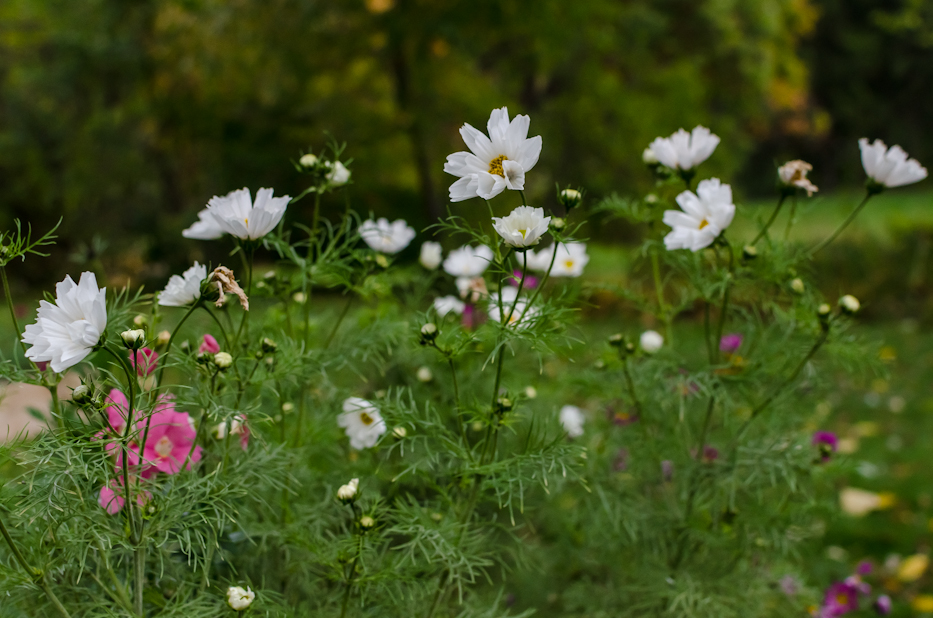
The design I sketched out called for 9 raised beds altogether, with a plan for gravel paths laid out in between. The larger beds would contain a climbing rose/clematis combo on a pillar surrounded by flowering annuals and herbs.
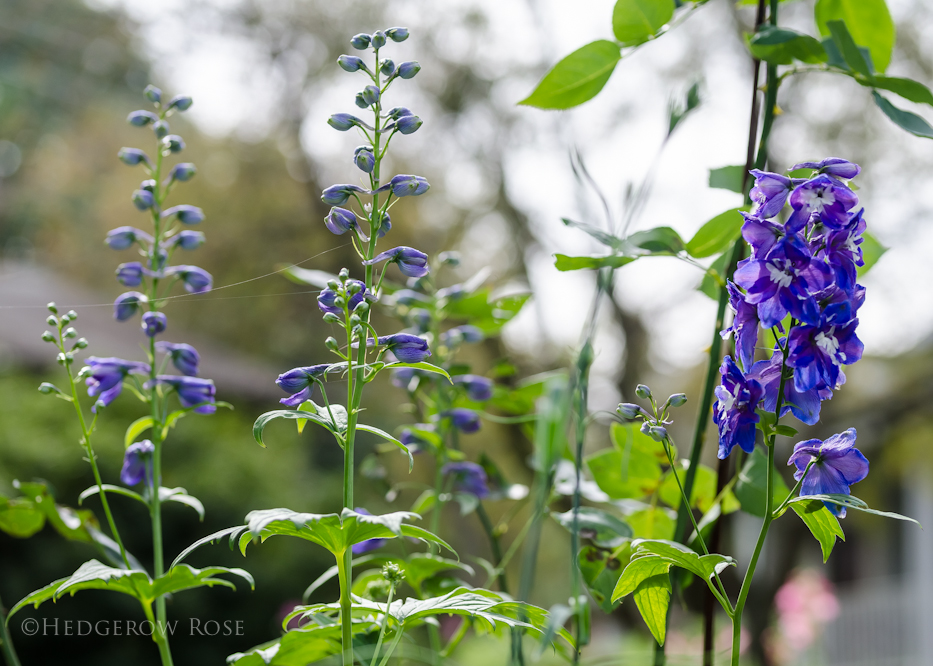
I found that it was a bit too shady for the carnations and cosmos that I grew there, although they did still flower, but the violas, snapdragons, orlaya, scabiosa, lavender, clematis, dwarf zinnias, delphinium and roses did just fine. If we were staying, I’d add boxwood to the four corners to lend a bit of formality and something else to look at in winter. Are you reading this, future tenants?
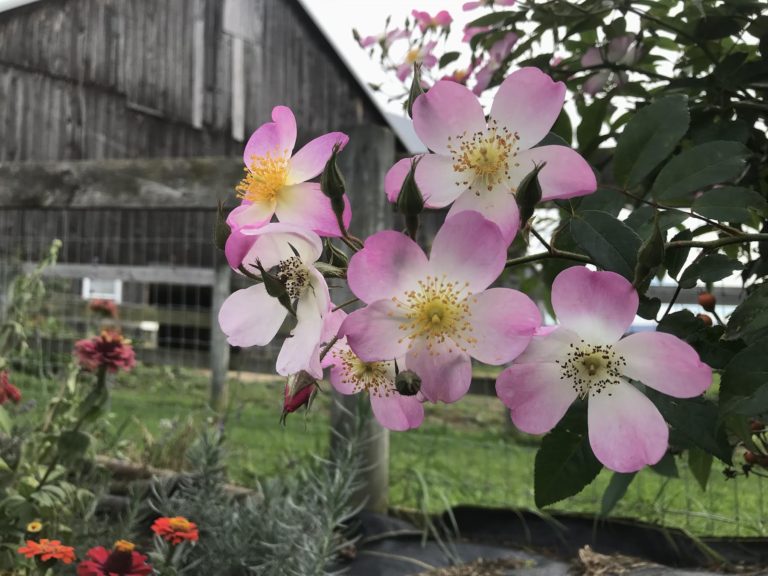
Anyways, I won’t get too much into all the different flowers we grew there because I have individual posts planned and some, like this clematis and this rose have already been written about!
If anyone cares to know the building plans Jesse put together for each bed, let me know and I’ll ask him to write a guest post. There is so much already to be found on the interwebs I didn’t think it necessary. I will say, though, if you plan on making them, start saving your cardboard! We used tons of cardboard and paper bags to line the bottom of each bed (smother the grass) so we wouldn’t have to bother with digging up the turf first. Saves a lot of time. Here’s another handy tip, a compost calculator to determine how much you will need to fill each bed. It’s a lot!!
So the plan is, for the next garden, to design another raised bed situation with heftier beds like those we used in the cutting garden, and laid out in the kind of classic, formal pattern that I love. I think if we’ve learned anything from this experiment, raised beds are worth every bit of the initial effort and quickly make a plain yard feel like a garden!


This is a wonderful post. I love seeing your raised beds (because I love raised beds!). You also have me thinking about what you say about being “Pinterest-perfect”. The truth is, that is not a garden. A garden is a living, breathing entity. It is not perfect and isn’t meant to be. At least in my thinking. There is beauty in the imperfection because it means the garden is REAL. Seeing that photo of your wonky raised beds made me cheer, “yay, I’m not the only ones whose beds are crooked!” It makes me happy, too, when I go to a public garden and spot a few weeds. Maybe I’m weird that way, but a REAL garden just seems so much friendlier. Something that I want to spend time in. Like a cozy room vs. a highly styled room.
Oh, and just think of how many things you’ll be able to grow in your new garden that you couldn’t in PA!!
So pleased that you enjoyed this, Anne! Even the wonky beds! Yup, I always thought if I’m going to write about my garden, then I’m going to have to be truthful and share the not-so-pretty bits/failures. I like seeing other gardener’s “real life” photos, too!
I’ve been wanting raised beds for a while since the soil here is so poor. What kind of wood do you use? When I was a kid, my family had built a raised bed but then got concerned about the possibility of the treated lumber contaminating the vegetables. We never did do any further research about it to find out if those concerns were valid or not. And that’s how my original 128 square feet of flowers got started.
We used untreated pine for the veggies and pressure treated for the flowers. If money were no object, I’d go with cedar for the whole kit and kaboodle but it’s pretty pricey stuff. Untreated pine worked great!
I love my raised beds. I created them because I hate to till the land every year. Mine were made from pressure treated cedar and it is still going strong after 8 years. I plan to add 12 more this year (ambitions aren’t I– but hubby will be putting them together. Power tools and I don’t mix well
Word of wisdom: Never get ordinary topsoil unless you are willing to weed..weed..weed like crazy. I have wild grasses that literally are 15 feet tall in one of my raised bed–that refuses to die. Unfortunately, I will have to resort to drastic measure to get rid of them. Now I have created my own perfect raised bed soil mix. Straight compost (has no weed at all), peat moss, and vermiculite. Any soil that will be added will only be the black top soil–NO WEED SEEDS. There is an initial invest of money in the beginning but the returns in the long run is so so well worth it.
Thanks for your input! We always had mushroom compost delivered which did really well for us, but one thing I had trouble with was the ground ivy (Glechoma hederacea) sneaking it’s way up into the beds from the lawn. Grr… That’s partly why I want gravel paths in future!
I love this article. Thanks for the list of your favorite things to grow. Makes me sad too, knowing I won’t be sitting in that garden with you anymore. But, then, that’s the way it’s always been – I miss your garden, but then you grow and even better one. Which is exactly what will happen this time too!
I know! So many fond memories!
Can’t wait to get started on the new garden and have you come visit!
super! thx!!
You have inspired me to give gardening another try! I’ve been stuck with the misconception that you’re either born a good gardener who understands esoteric soil compositions, etc. or you aren’t. I love that your blog proves that persistence and passion are key to gardening success. Learning that even in your drop-dead-gorgeous gardens there is a fair amount of trial and error reignites my enthusiasm. Thanks :).
Well gosh, thank YOU! I agree with you, anyone can be a gardener, and even the most experienced still accidentally kill plants from time to time. I’m so glad to have you here!